Note : This publication acts as a continution of my exhibition titled Ceramic Rock Glazes : Developing a Geological Language of Alternative Ceramic Materials. The purpose is to bring together all my previous publications into a single, somewhat cohesive document, providing both an easy access to the information and more in-depth details.
Chrysocolla Quartz
As with all prior publications in this rock glaze series, the structure of this article is as follows: an overview of the rock’s mineralogical components, followed by photographs of the crushed rock at various stages of firing, images of the glazes made using the rock as the primary ingredient, and finally, a presentation of two moon jars that highlight two of the resulting glazes.
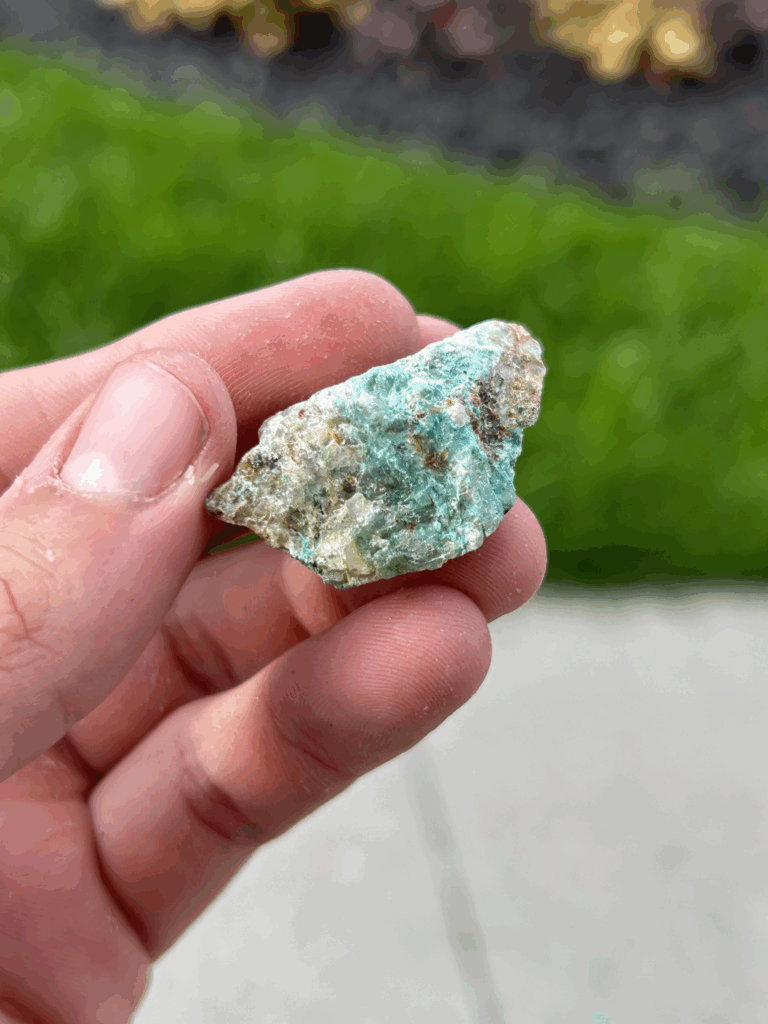
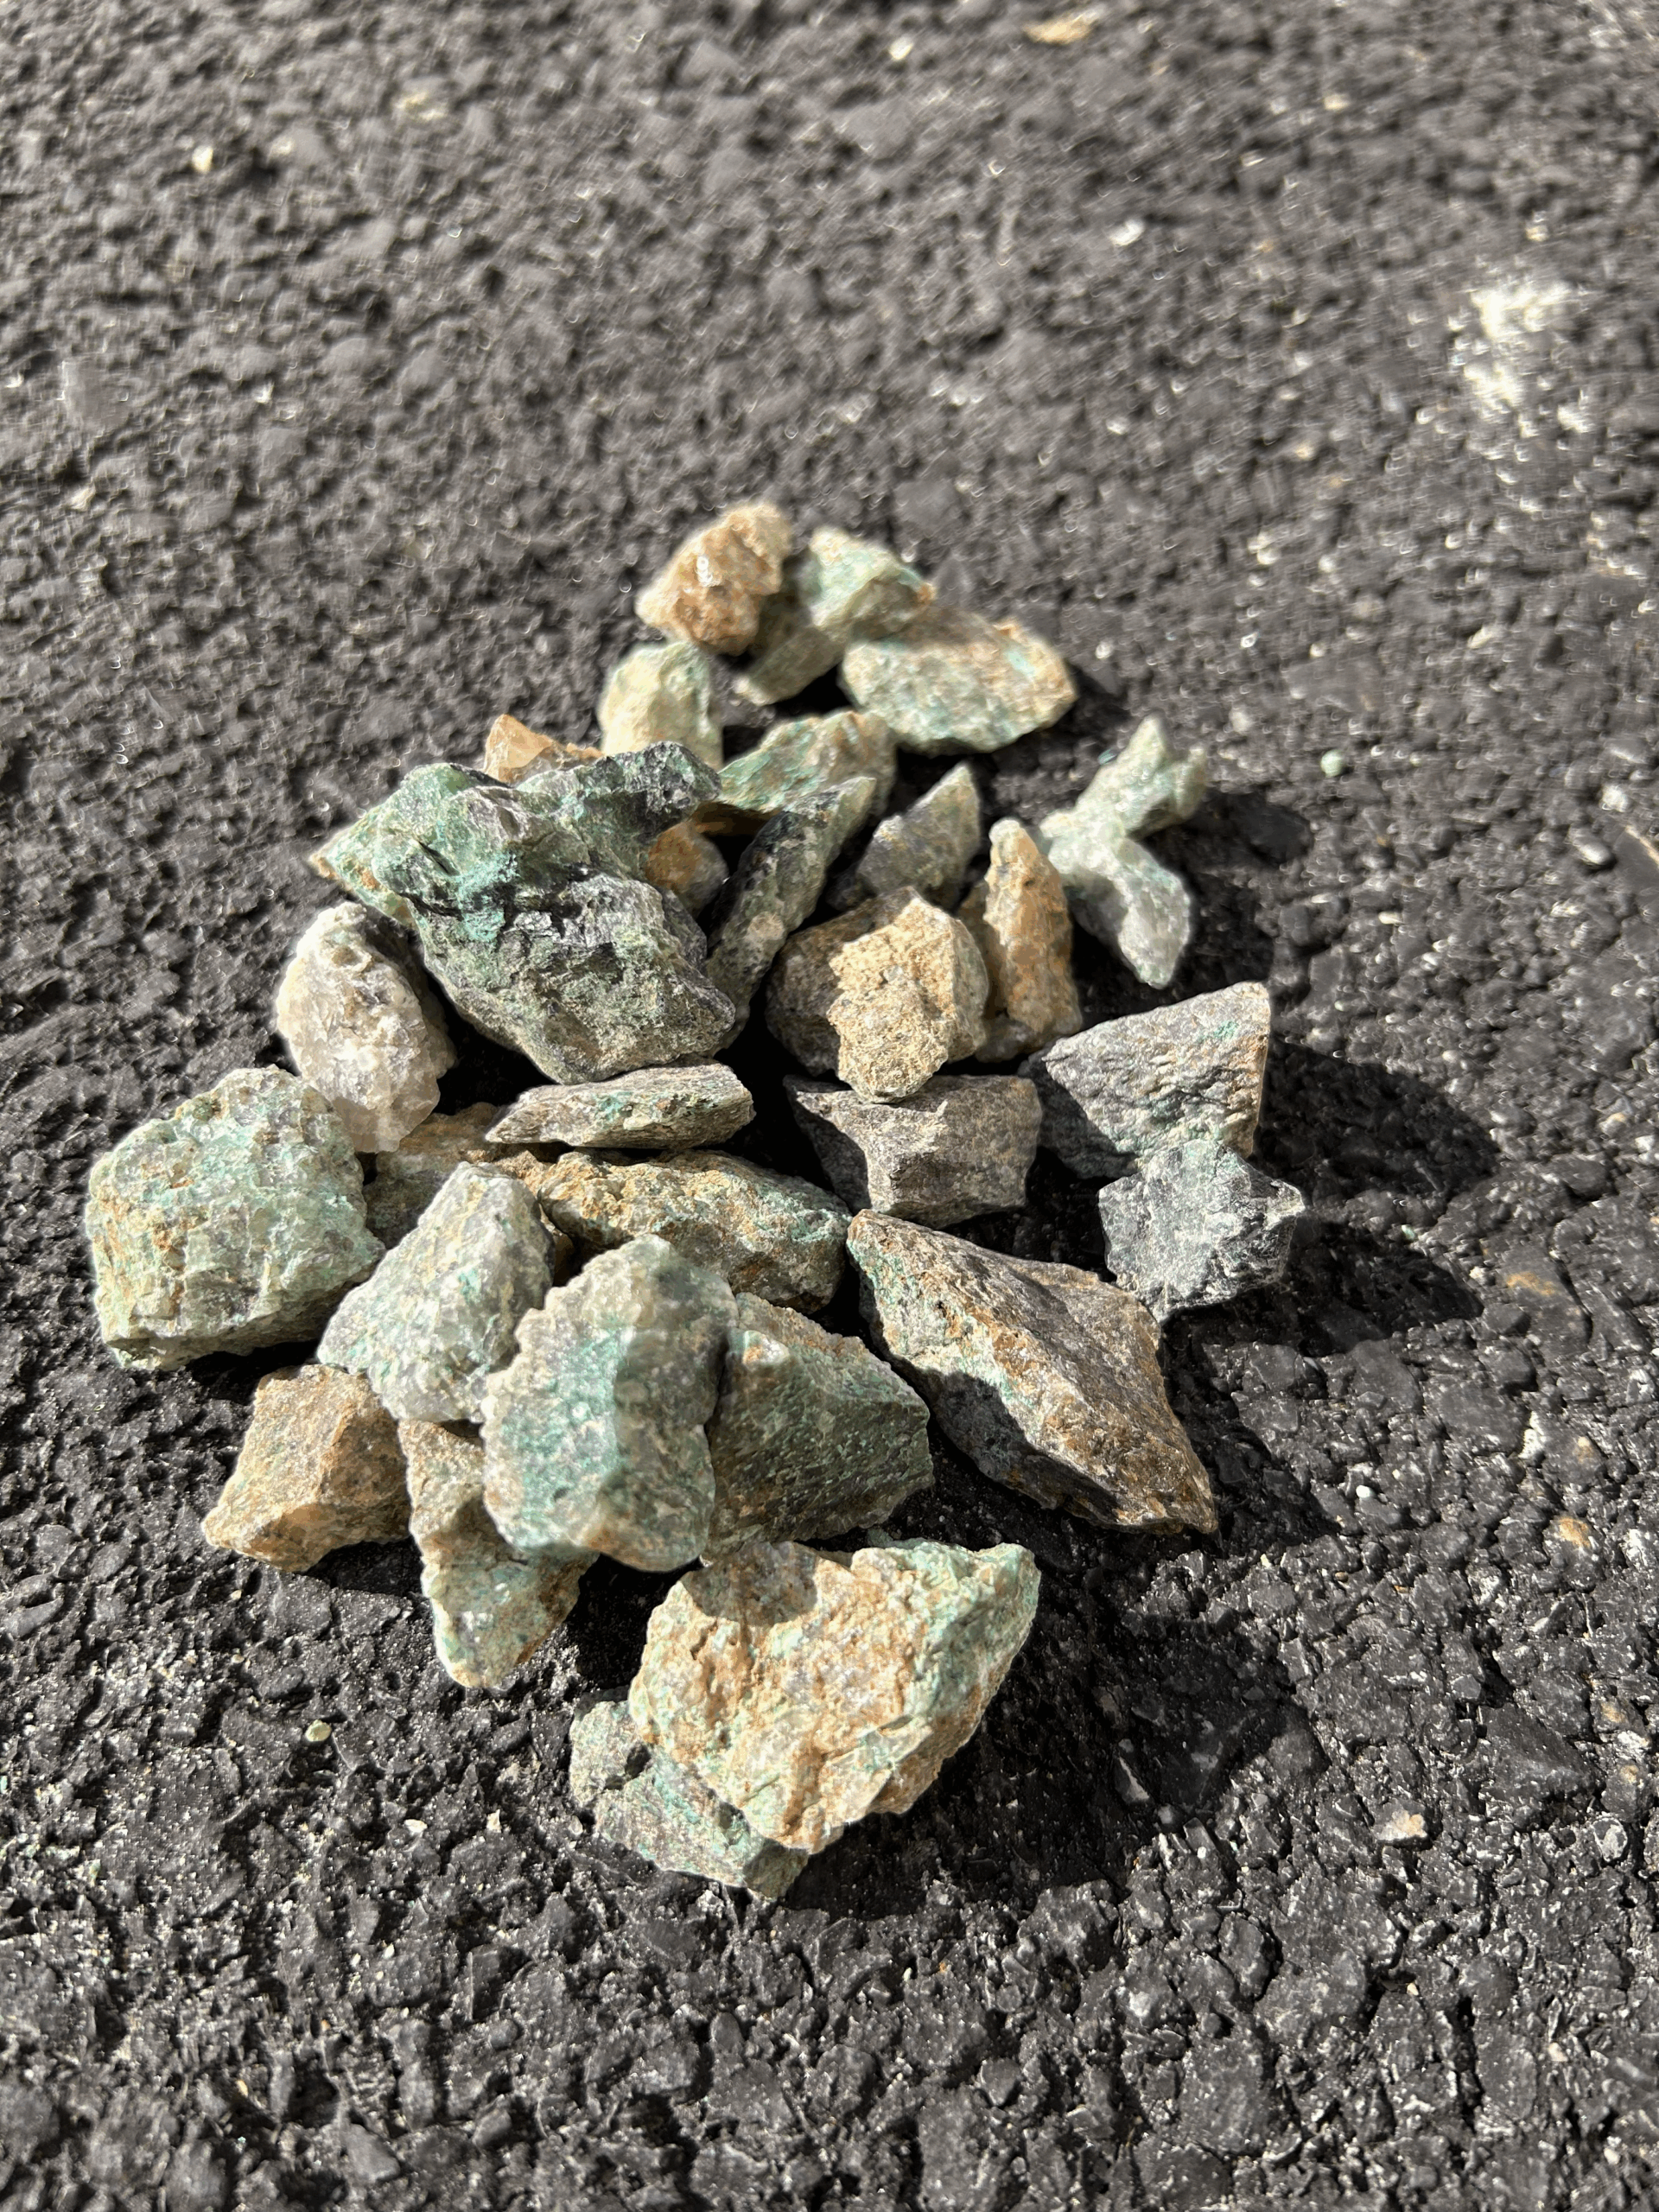
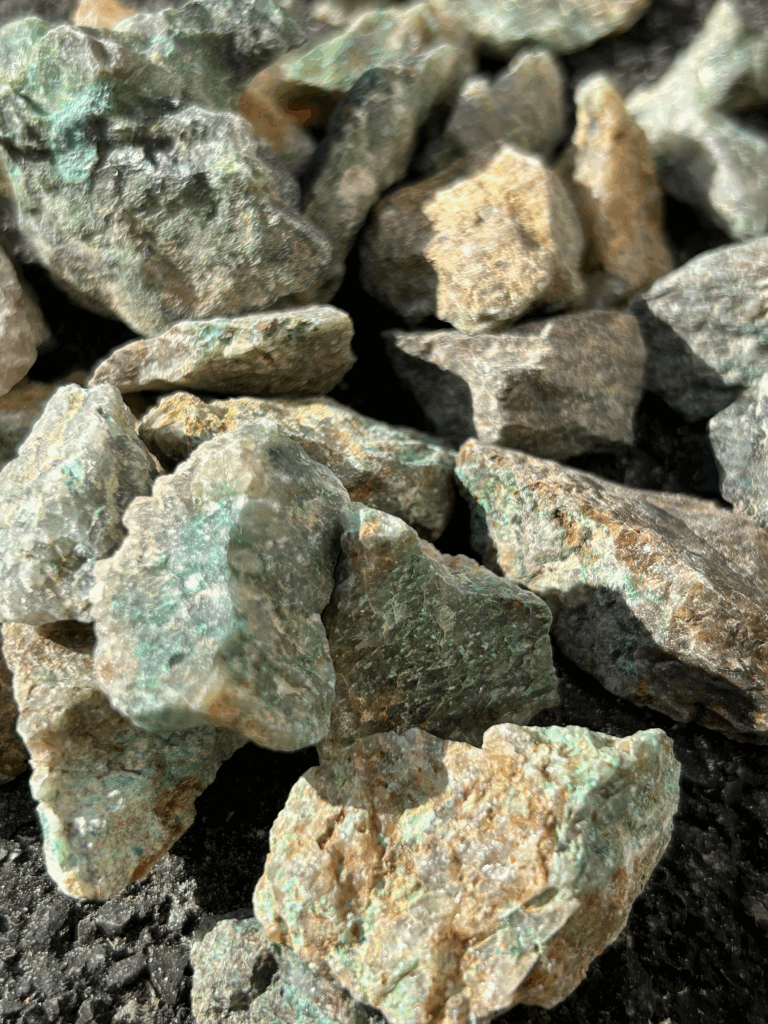
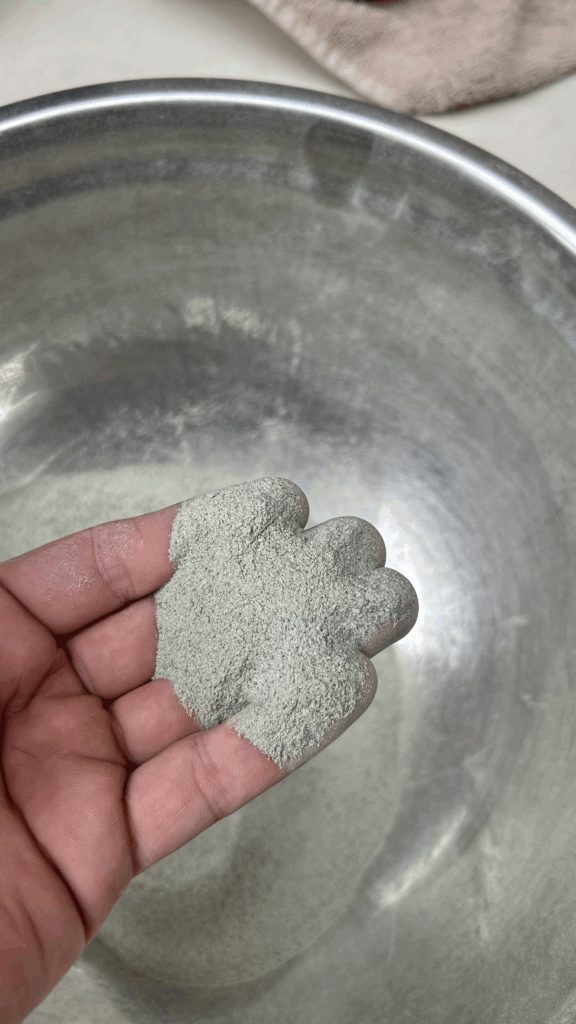
From Rock to Dust
In its natural state, it is probably one of my favourite rocks in the series with its vibrant blue-green. To crush this rock, I used some of the tools listed in the previous blog post : Tools for processing rocks into fine powder for ceramic glazes : an introduction.
Mineral Composition and Considerations for Glaze Development
Note : In the absence of XRF analysis, I relied on the observational skills of a friend, along with hardness and melt tests, to support some of the hypothesized mineral compositions of the rock. Even now, I can’t claim with complete certainty that everything detailed below is accurate, but these findings offer a solid starting point.
Chrysocolla quartz is composed of :
- Quartz (Silica)
- Chrysocolla (Copper)
- Calcite (Calcium Carbonate)
Based from previous test, it is still difficult for me to predict whether a rock will melt or not. All I knew, with this rock, was the potential of the copper. While in its raw form I am not expect any typical colours you would get with copper oxide, I believe it yield a high potential for creating a green-like colour palette in glazes.
Firing Temperature and its Effects
I began all glaze experiements with a series of melt tests to observe how the rock behaves on its own. This initial step served two important purposes: first, it provided a general understanding of the material’s behavior at high temperatures (how it melts, flows, and what sort of color palette it might produce) ; second, it was a safety check to confirm that the rock wouldn’t splatter, bubble excessively, or overmelt in the kiln. I strongly encourage anyone working with raw or unfamiliar materials to run similar tests. If you decide to try it yourself, I recommend using small ceramic bowls or containers with raised walls rather than flat tiles to protect your kiln shelves in case the material becomes unexpectedly fluid.
In addition, I added 5% of the clay’s weight in the form of grog and powder to see the effect of the rock as a clay additive.
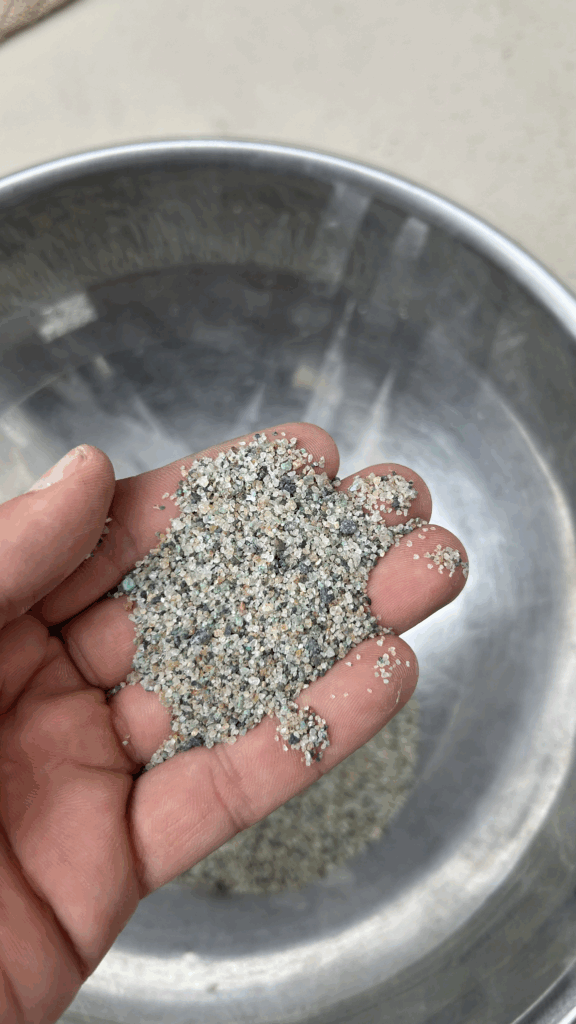
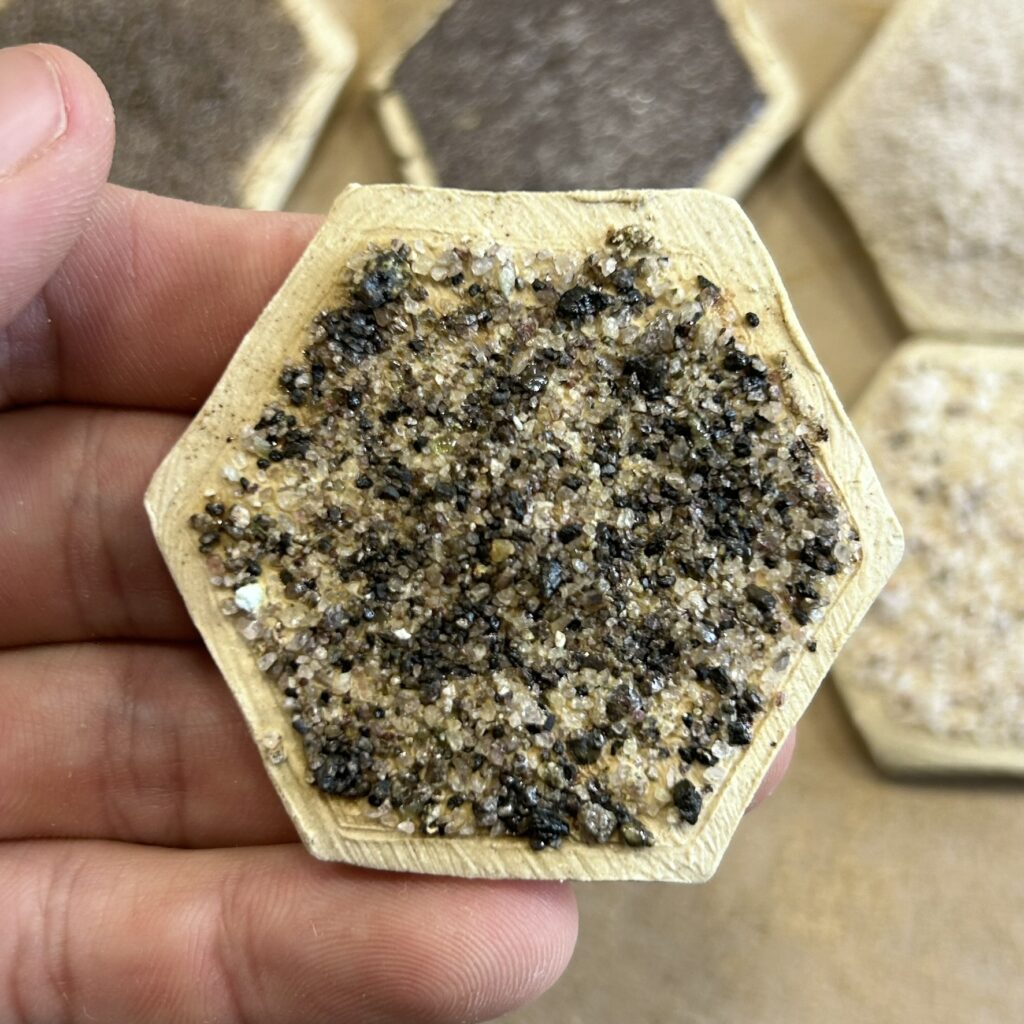
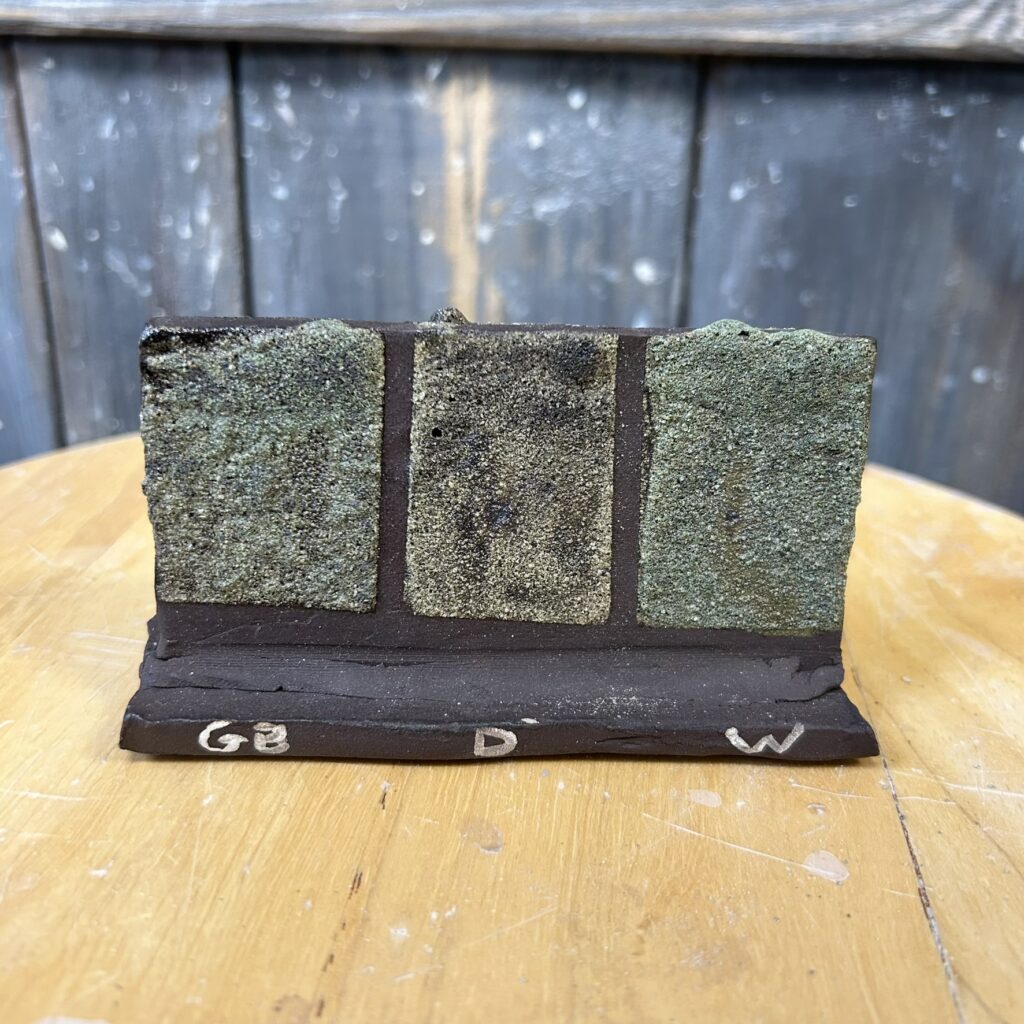
The photos bellow show the rock used in its grog form (i.e., relatively coarse particles), progressing from raw to bisque-fired (cone 04), and finally glaze-fired (cone 6). In the final stage, the sample is completely unmelted, giving a granulated look. The presence of copper is mainly confirmed by the black fuming effect we see across the tile.


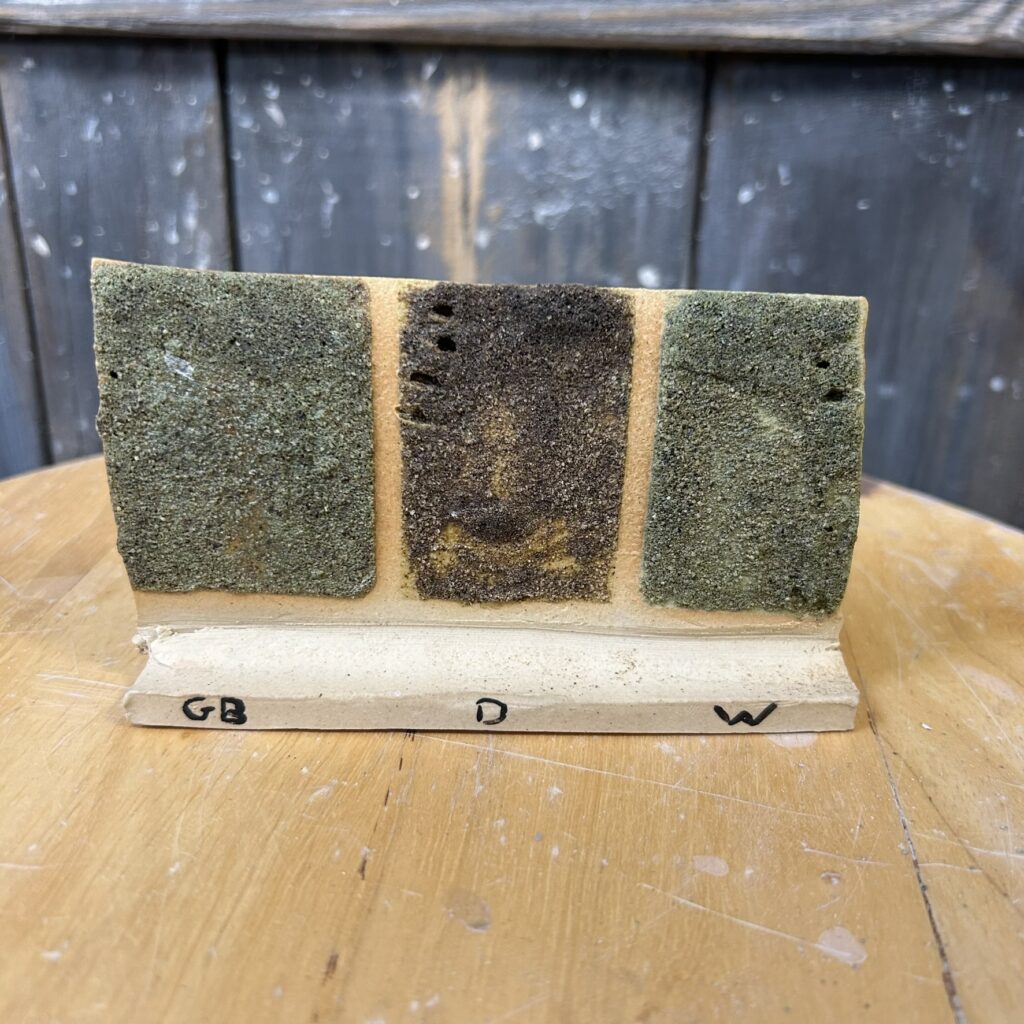
The second set of photographs shows the rock in its powdered form (40 mesh and finer), following the same sequence: raw, bisque-fired (cone 04), and glaze-fired (cone 6). Similarly to the test using the grog form, this sample doesn’t show any signs of melting and looks pretty much like burnt coal.


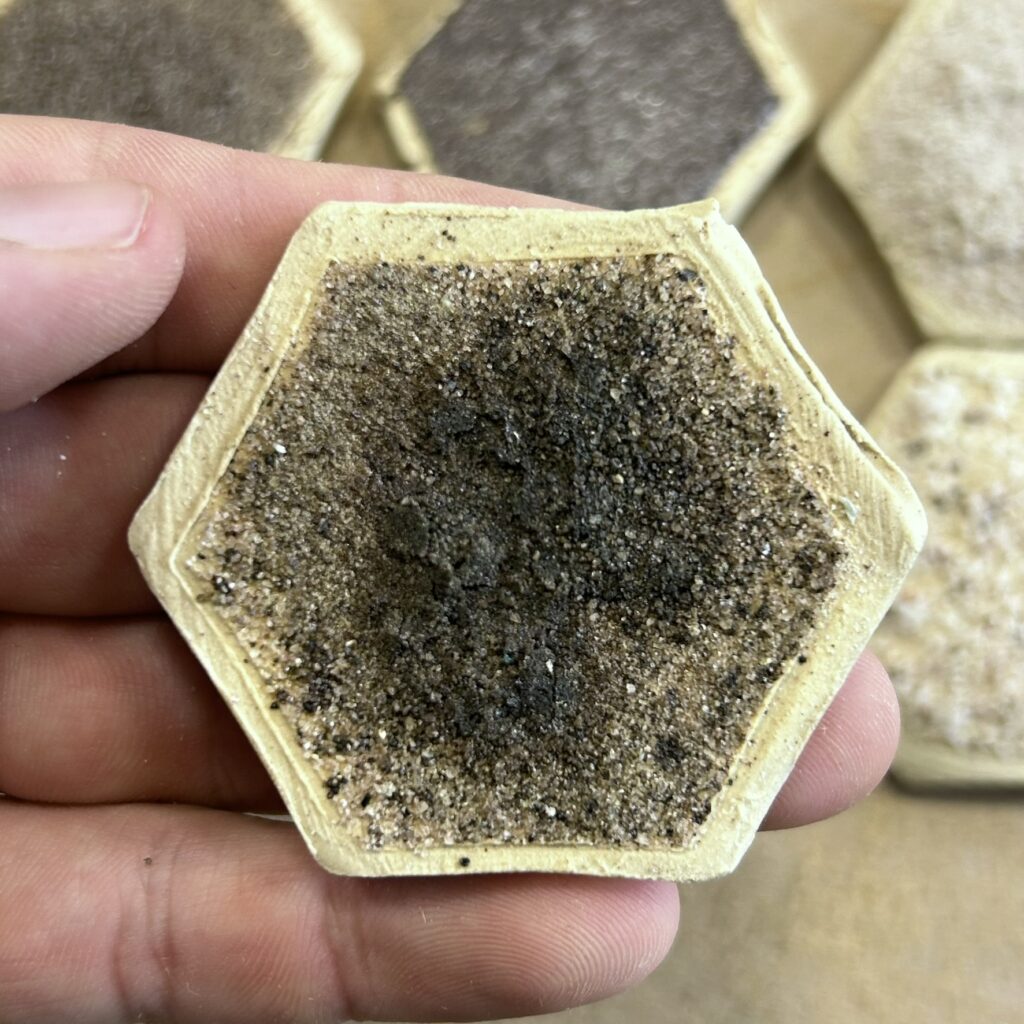
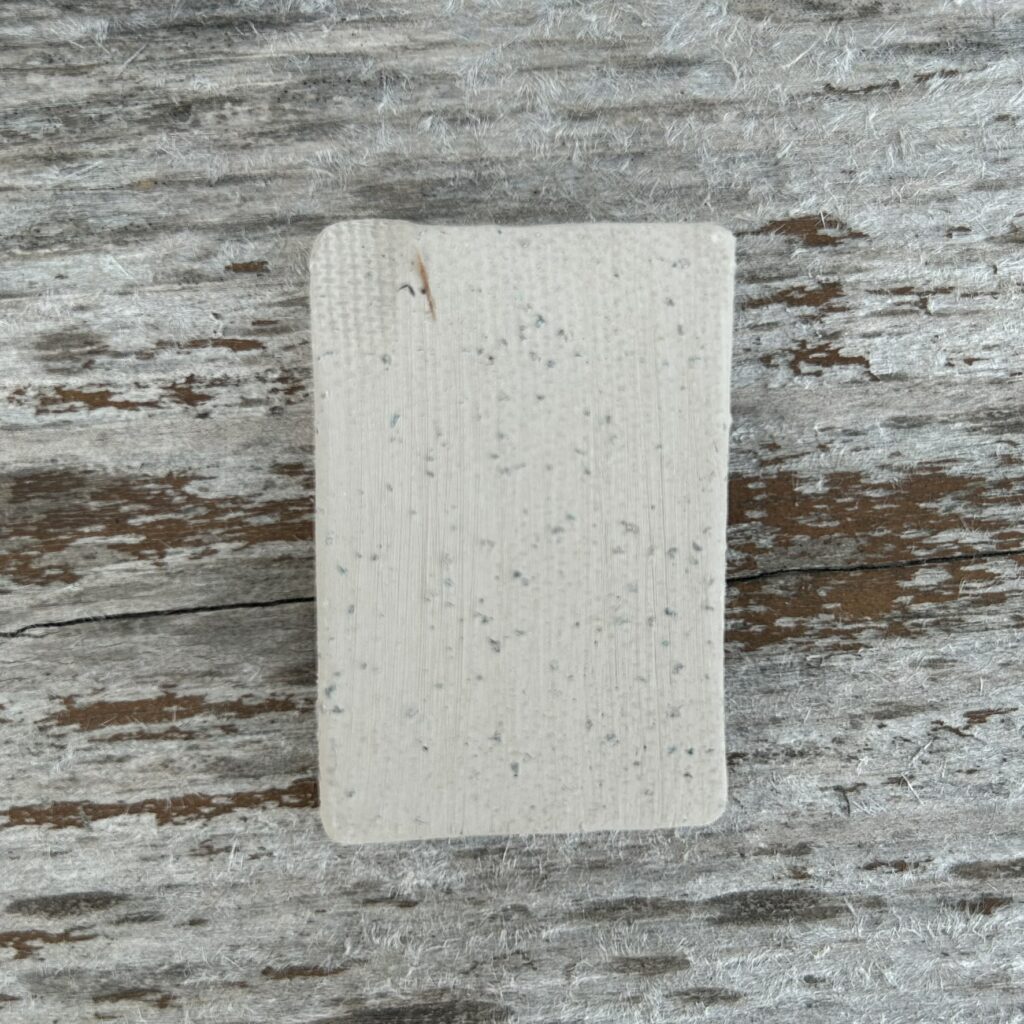
At last, as mentioned earlier, I also added some of the grog into one of my clay bodies. The images bellow follows the same firing order from those above. After the final firing, we can see some rather dark spots with signs of fuming, which could confirm the presence of copper.


Glaze Recipes
Given the large volume of rock samples I was working with, I opted to move away from traditional testing methods like line blends or triaxial blends. Instead, I developed a consistent base recipe for all my glaze trials: 85% crushed rock, 10% flux, and 5% clay. This approach allowed for a more streamlined process while still offering meaningful insights into how different ingredients affect the outcome. For the clay component, I experimented with both EP Kaolin (EPK) and Redart (R), while the fluxes tested included Gerstley Borate (GB), Dolomite (D), Whiting or Calcium Carbonate (W), Zinc Oxide (Z), Nepheline Syenite (NS), and Soda Ash (SA). Although varying the ingredient ratios might have yielded a wider variety of glaze surfaces, maintaining a fixed formula helped isolate the role each flux and clay played in shaping the final results.
All glazes were tested across different clay bodies – specifically PSH 519, Tucker’s Mid Cal 5, and PSH 540i. In the following section, I’ve included a curated selection of test tiles that represent key findings, rather than presenting the full batch.
Amphibolite Glazes : An Overview
Glazes produced using a chrysocolla quartz yeilds interesting results. Gerstley Borate and Whiting were the main two fluxes that generated more vibrant greens, whilst Dolomite, Nepheline Syenite and Soda Ash produced darker shades of black. Zinc Oxide diverges a little bit by its lighter, whiter colour.
Glazes using EPK on PSH 540i

Glazes using Redart on PSH 519

You will find below a short series of videos (recorded in early 2024 and about one minute each) sharing my on-the-spot thoughts about all of them, including the raw melt test.
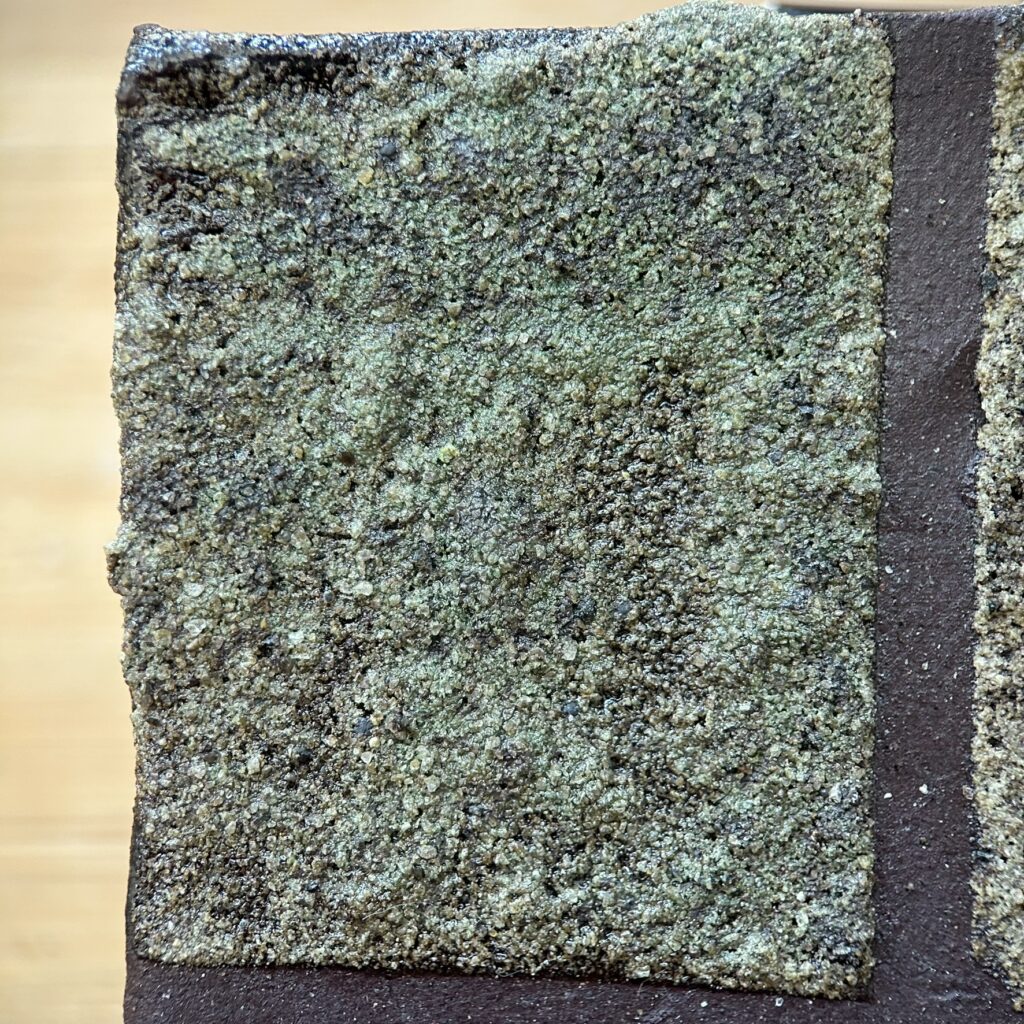
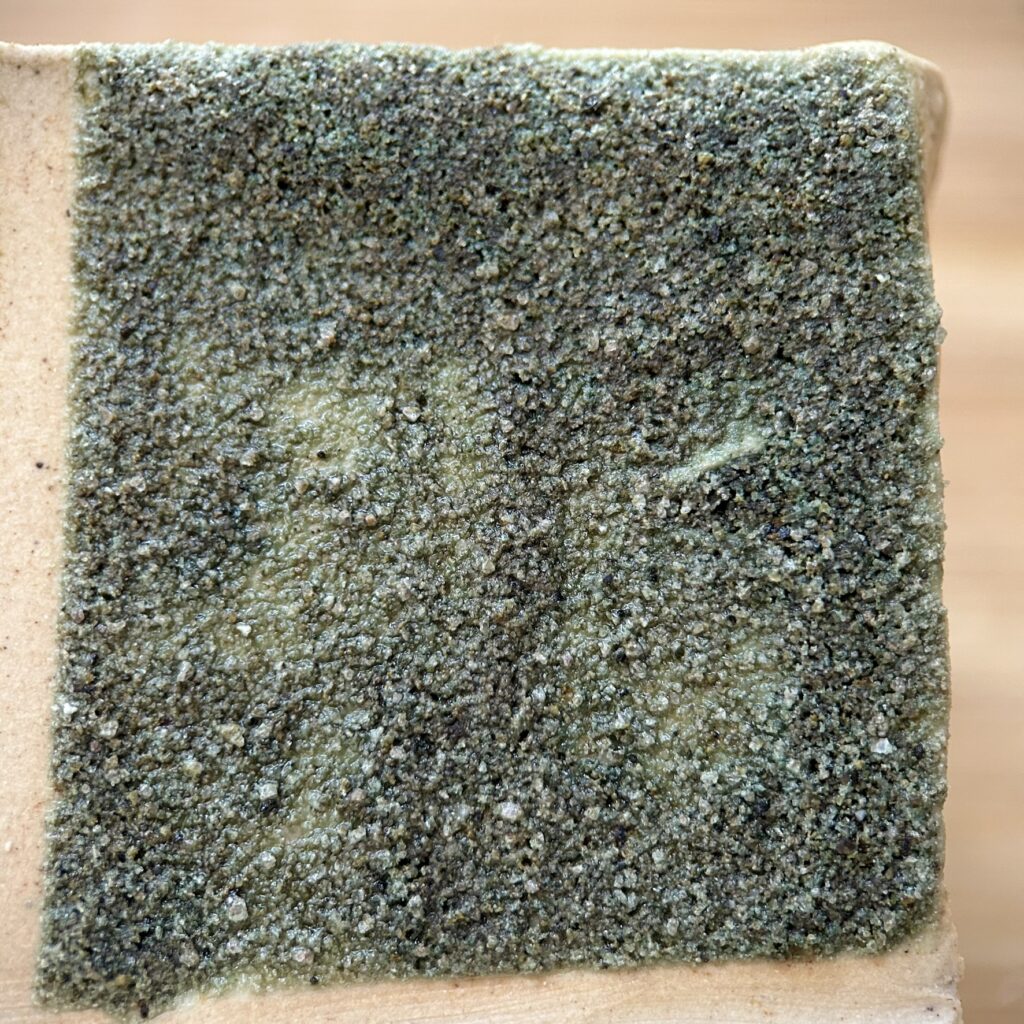
Quartz Glazes : A Closer Look
Here’s some extra pictures taken upclose.


Going Beyond Testing
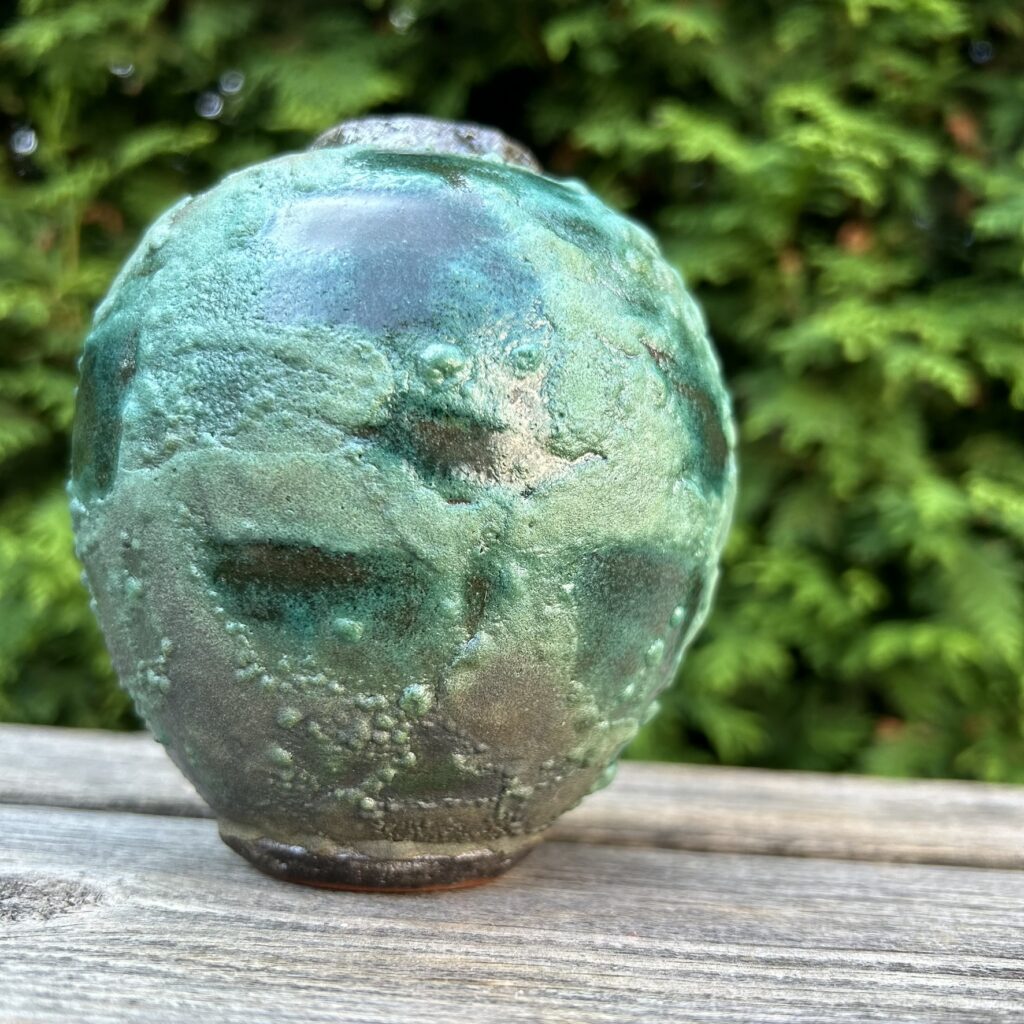
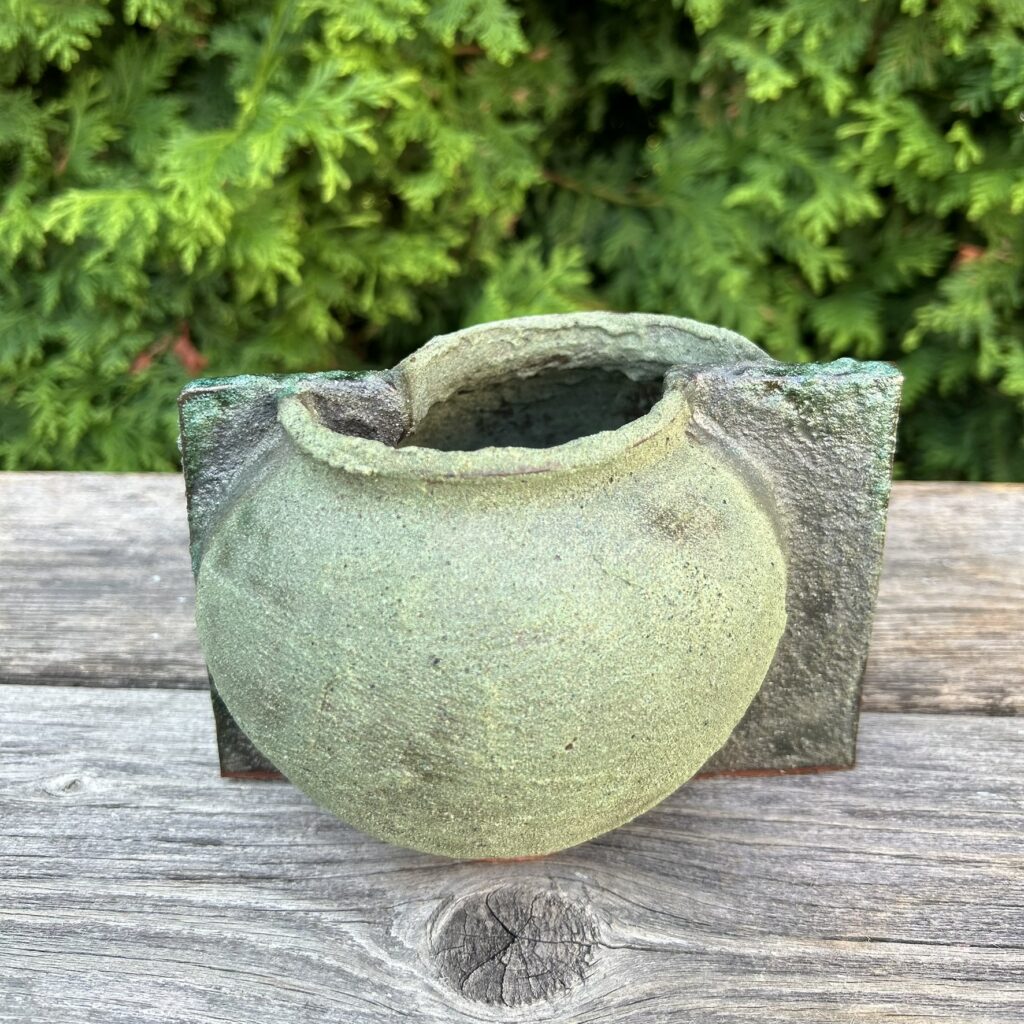
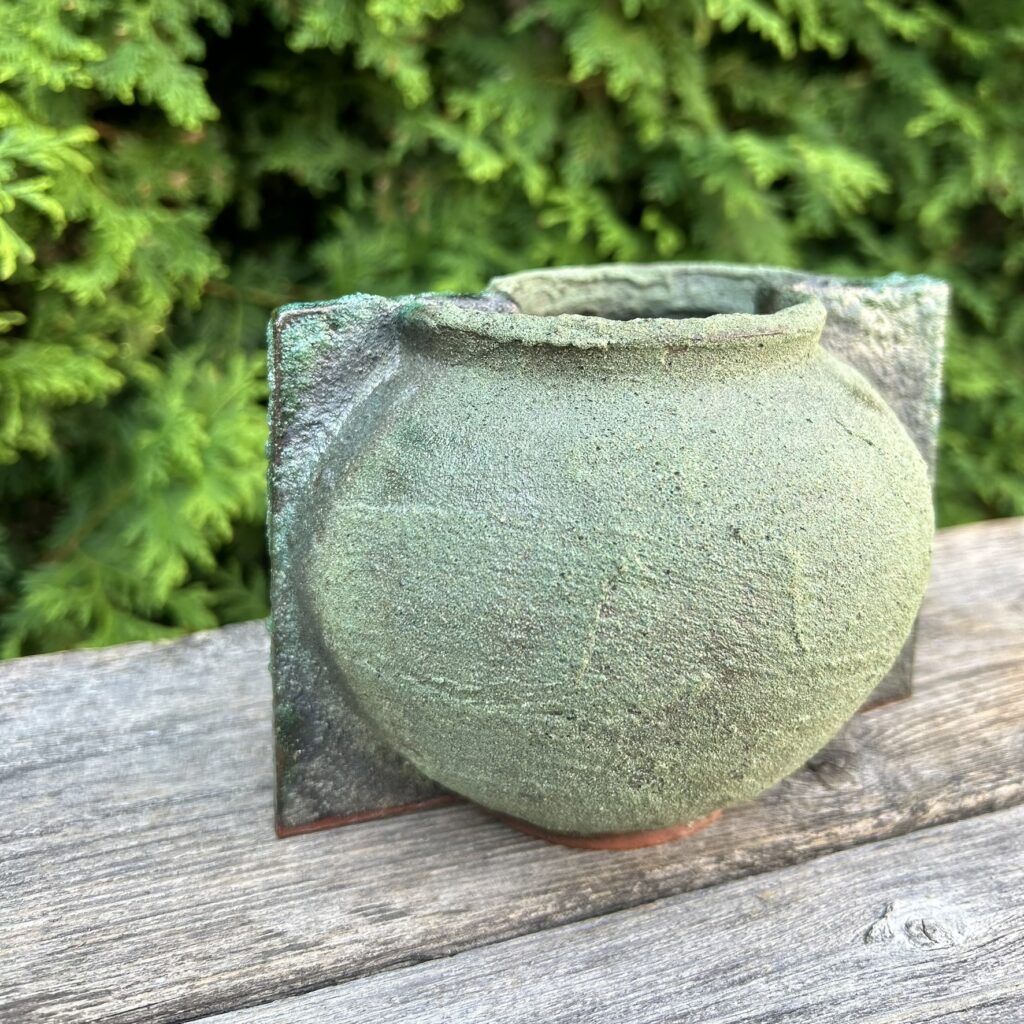
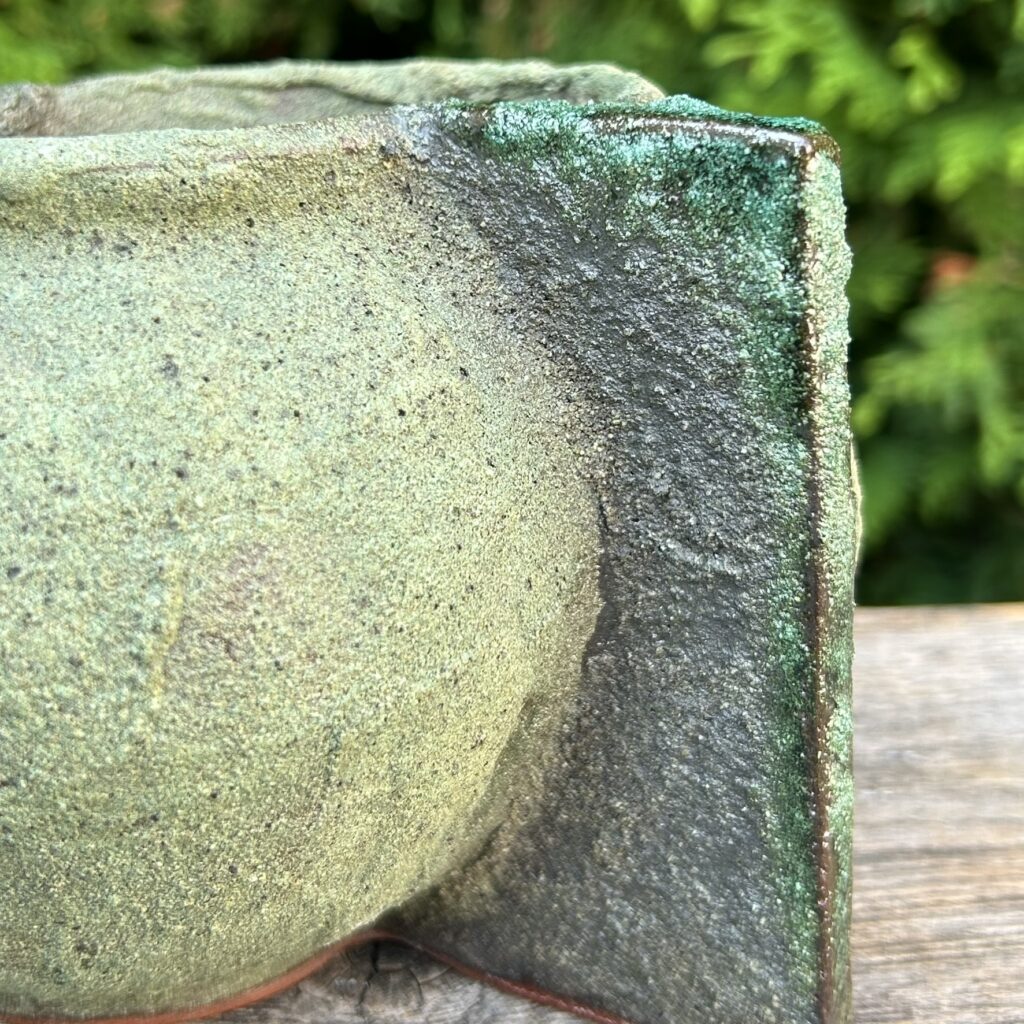
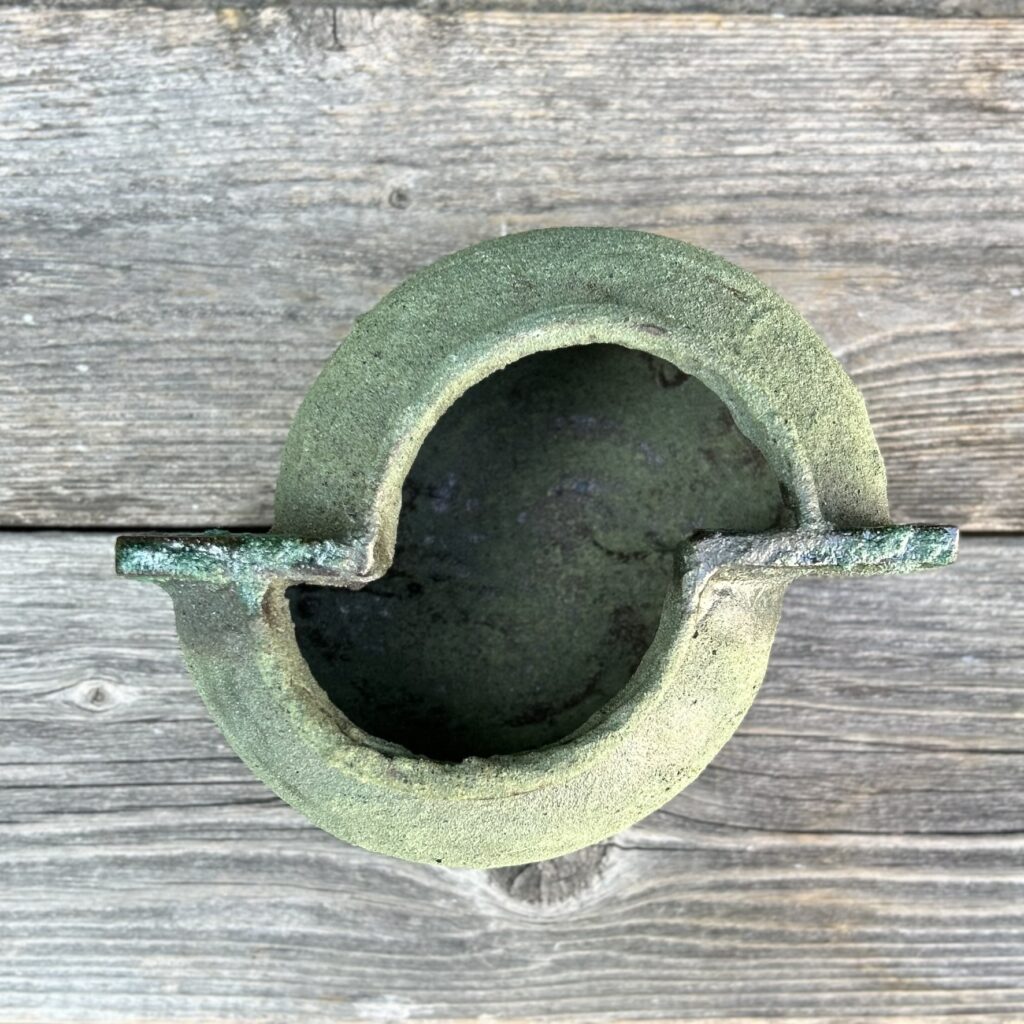
Each rock of the series was accompanied by two moon jars to showcase some of the glazes produced.
Moon Jar [É23D – 1]


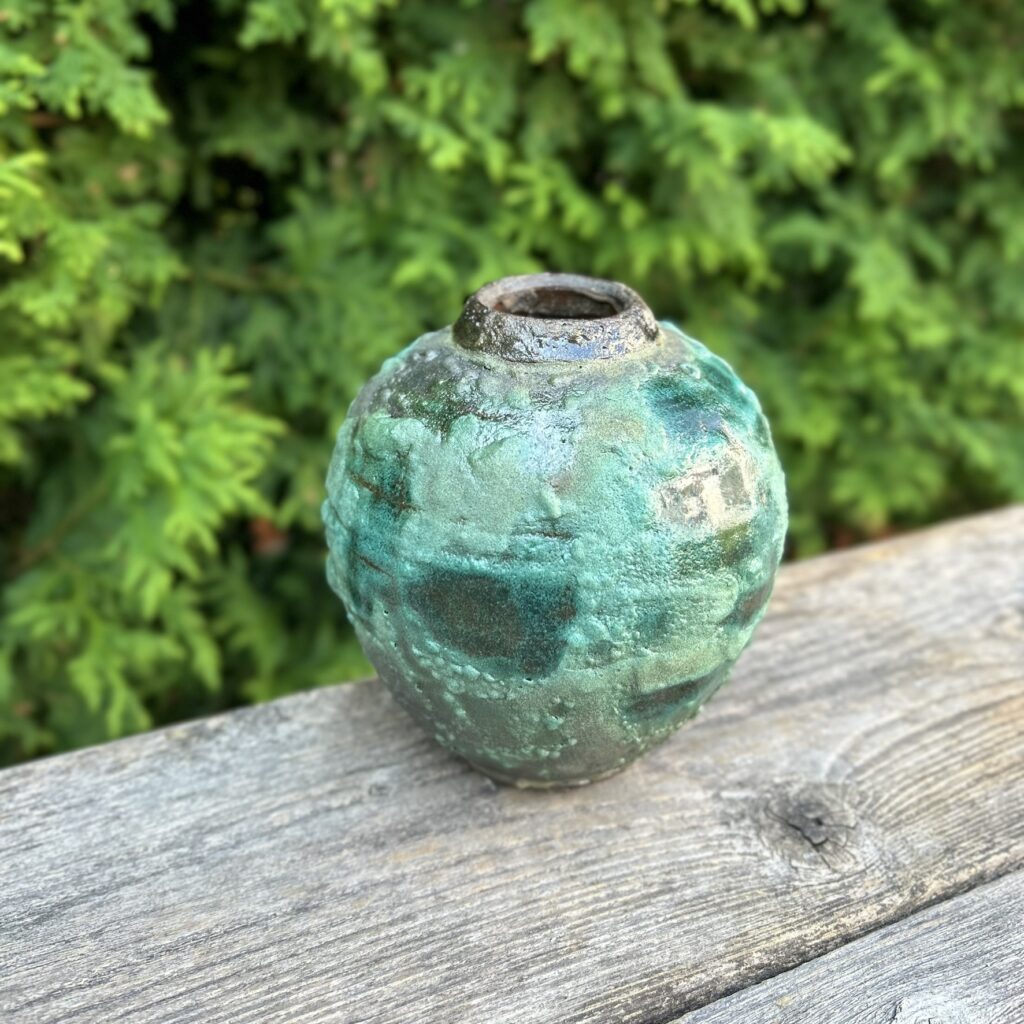
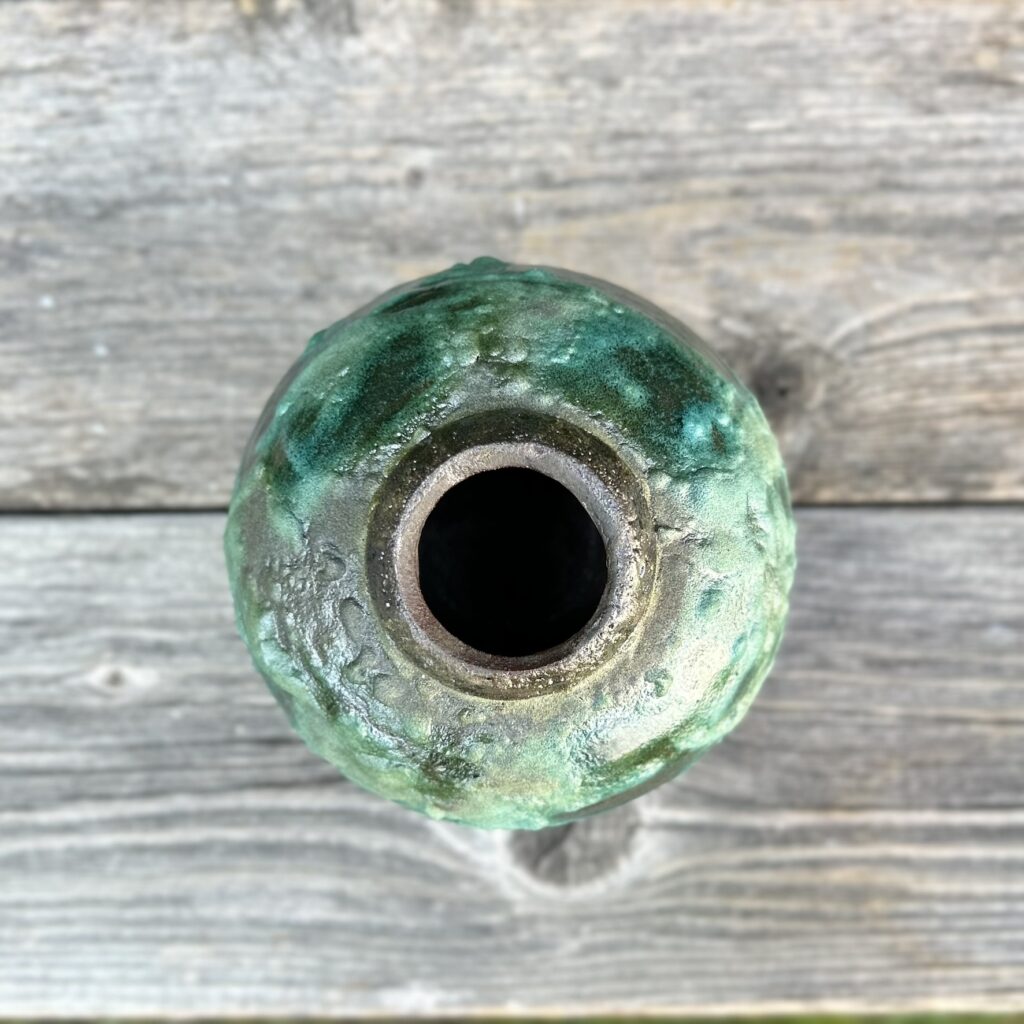
Moon Jar [É23D – 2]


Thank you for reading this far !
Leave a Reply