Note : This publication serves as an extension of my exhibition titled Ceramic Rock Glazes : Developing a Geological Language of Alternative Ceramic Materials. My goal with these is to agglomerate all publications I have previously made into a single document to both facilitate the access to the information as well as to provide more in-depth details on the subject.
Quartz
As per all previously published publication in this rock glaze series, the structure of this article is as follows : an overview of the mineraology components of the rock, pictures showing the crushed rock at various stage of the firing, pictures of the glazes created using the rock as the primary ingredient in the glazes, and, finally, the presentation of two moon jars to showcase two of the glazes created.
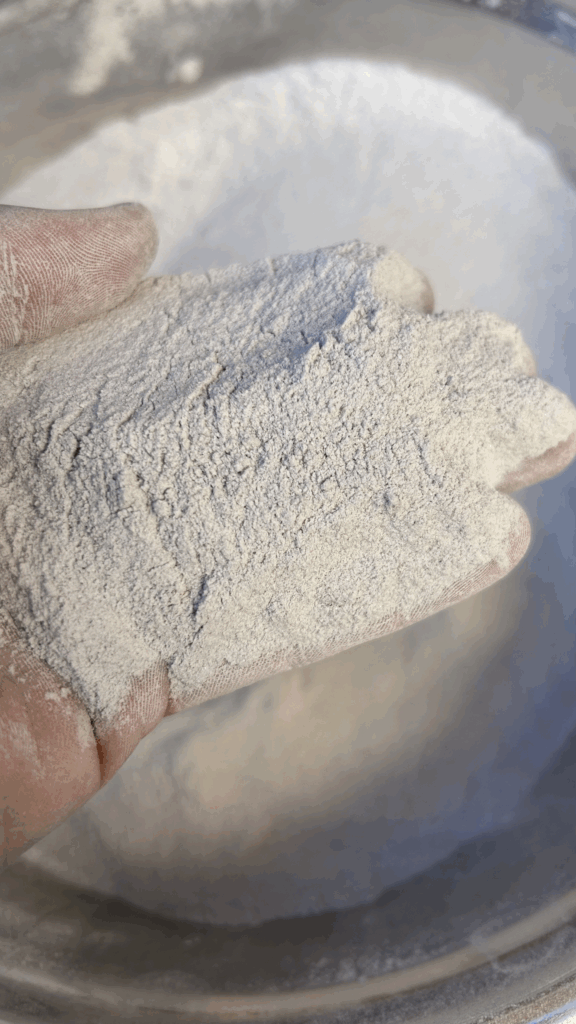
From Rock to Dust
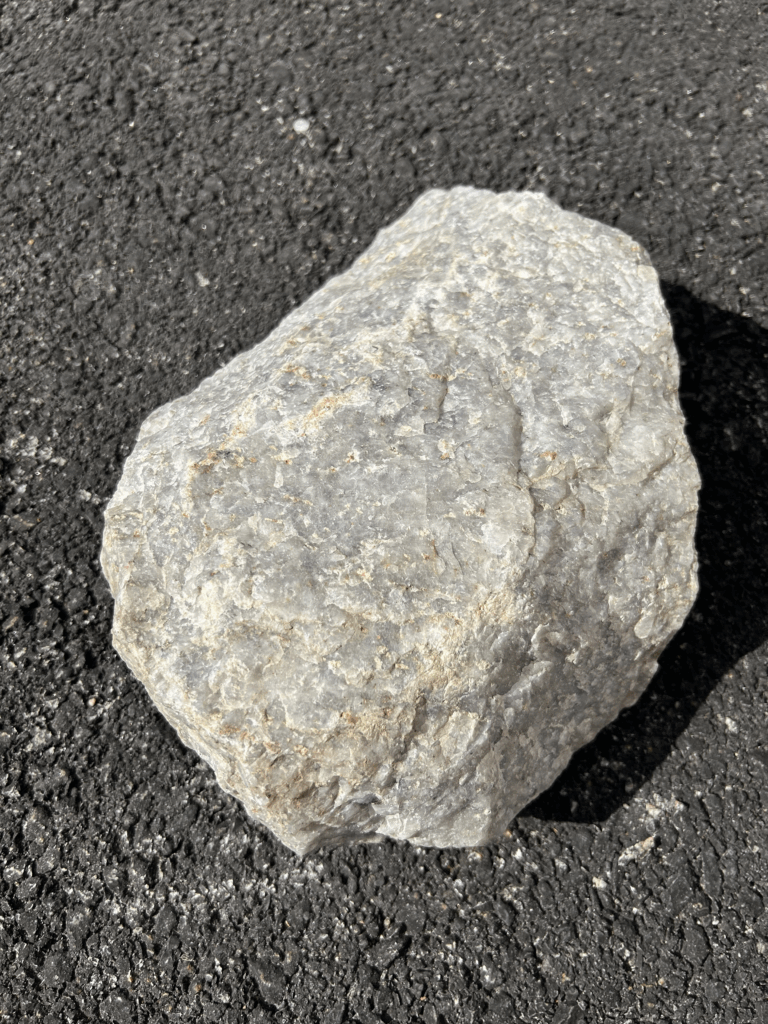
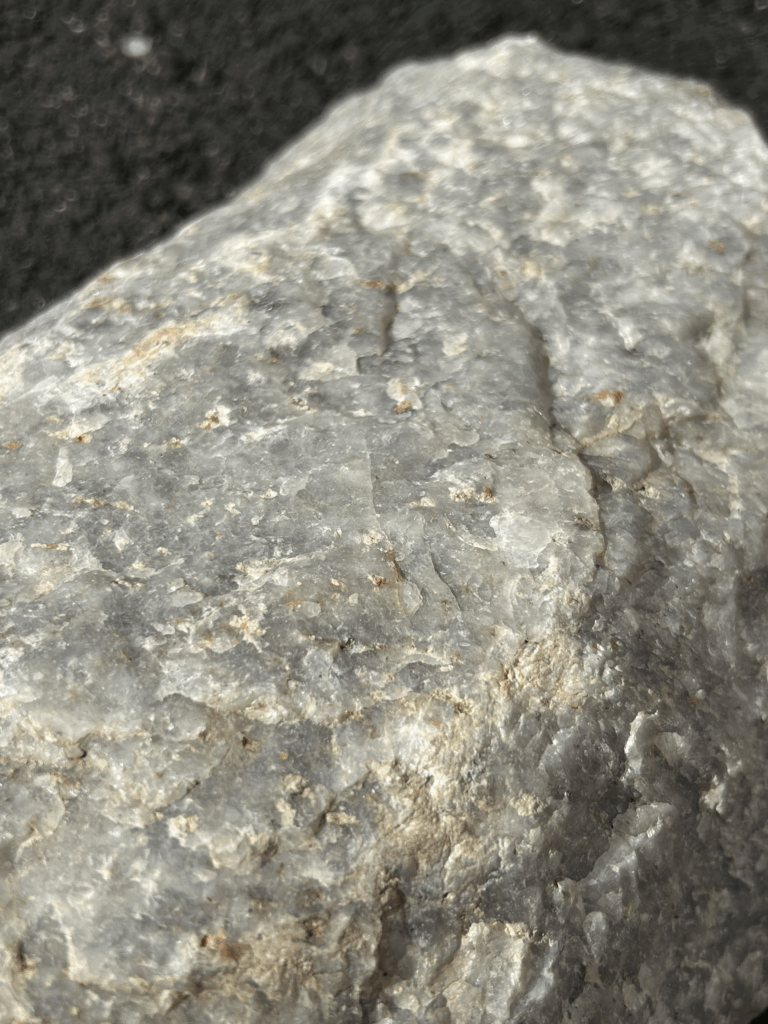
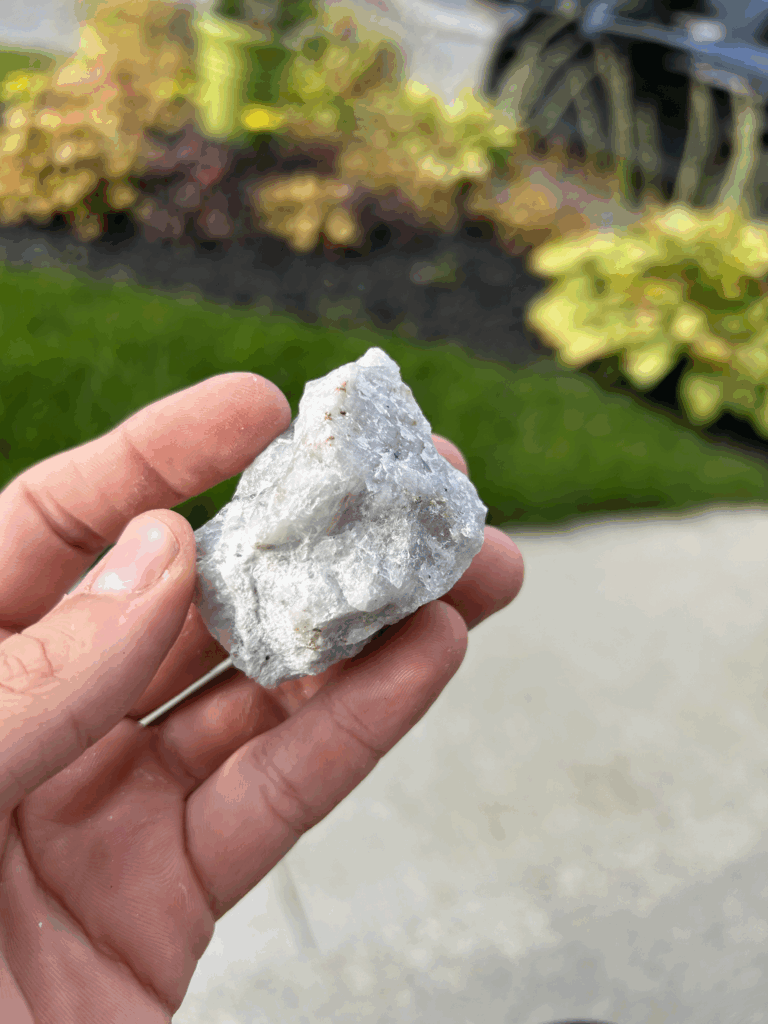
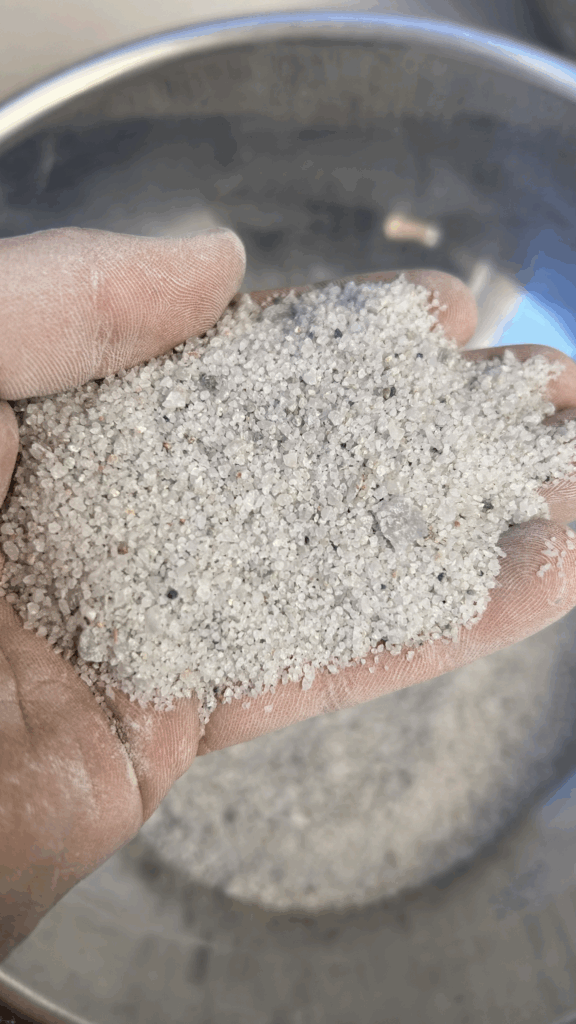
As with most of the rocks in this series, I found it in a ditch near by my house. It’s of a beautiful semi-translucent silver-like colour. By the end of the crushing process, it became a light grey colour. To crush this rock, I have used some of the tools listed in the previous blog post : Tools for processing rocks into fine powder for ceramic glazes : an introduction.
Mineral Composition and Considerations for Glaze Development
Note : Unfortunately, I was not able to get any XRF done for this project – both due to cost (because of the large volume of specimens) and access to labs in the nearby region. For this reason, I had to make due with a relatively quick and rudimentary identification process consisting of observation, comparison with similar rocks, and a hardness scale test. This was one by one of my friend whom I am grateful aNote : Without any XRF, all I could rely on the observation skill of one of my friends, along side hardness test and melt test to confirm some of the hypothetical mineral composition of the rock. Even today, I cannot say with certainty that everything that will be written below is correct, but they are a great starting point.
This quartz specimen is pale, somewhat translucent and is mainly composed of :
- Quartz (Silica)
- Calcite (Calcium)
- Chalcopyrite (Traces of Copper and Iron ?)
Based on the list of minerals, I assumed that it would either melt nicely and evenly by itself, or not at all. While the latter is not as desirable as the former, because this rock is rich in silica (ie., quartz), I am assuming that the addition of various fluxes will make it melt at cone 6, although this might not be the case. The traces of chalcopyrite might create a sort of speckling effect.
Firing Temperature and its Effects
Before incorporating the rock into glaze recipes, I conducted melt tests to observe how it reacts on its own at cone 6. This preliminary step served two purposes: first, it gave me a general sense of how the material behaves at high temperatures and what kind of color palette it might produce; second, it ensured the rock was kiln-safe (i.e., it didn’t splatter or overmelt). I highly recommend this step to anyone experimenting with raw materials. If you plan to try it, I suggest using small bowls or containers with walls rather than flat tiles—this helps protect your kiln shelves in case the material becomes overly fluid.
In addition, I mixed crushed rock directly into one of my clay bodies, using 5% of the clay’s weight. This allowed me to see how the material behaves within the clay.
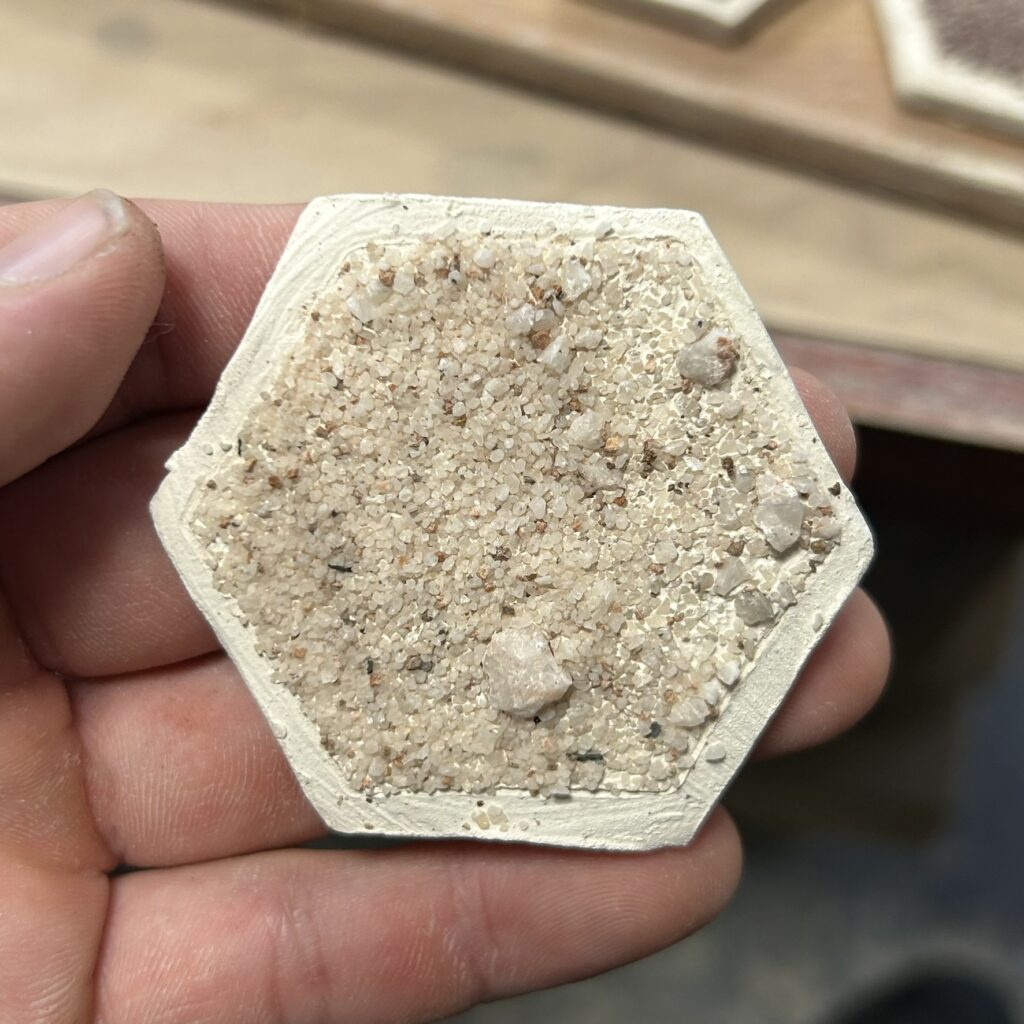
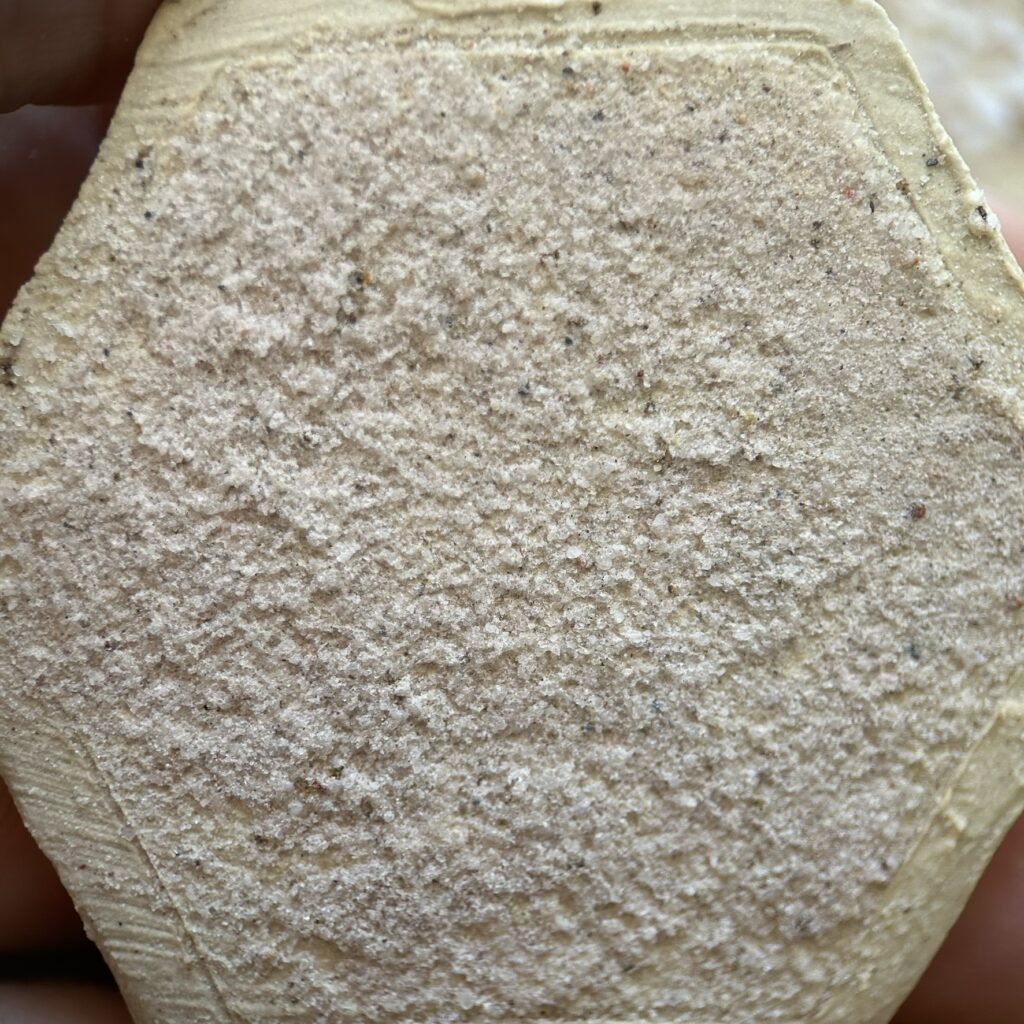
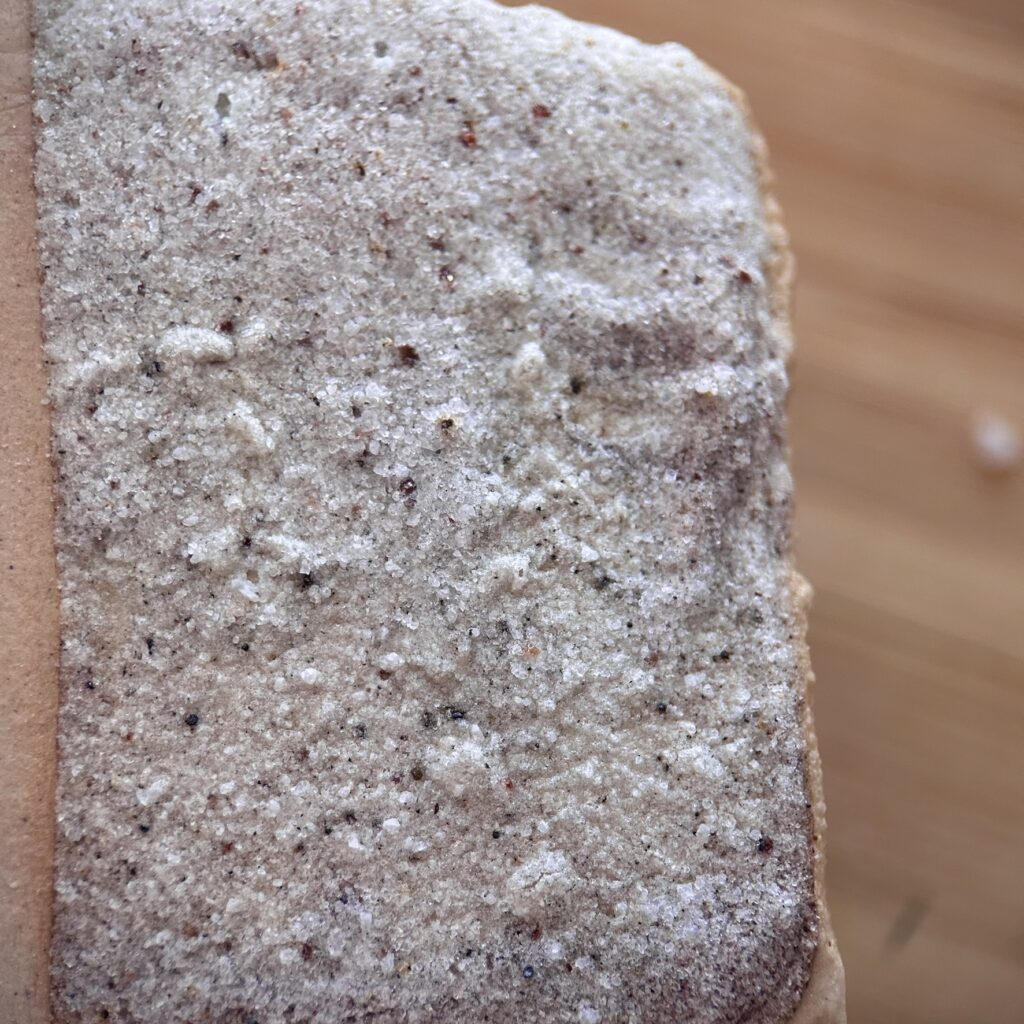
The first series of photos below shows the rock used in its grog form (i.e., relatively coarse particles), progressing from raw to bisque-fired (cone 04), and finally glaze-fired (cone 6). In the final stage, the sample is completely unmelted, giving a granulated look. The resulting coloration is mainly white, with some black and orange-like speckled, probably as a result of the impurities in the rock.


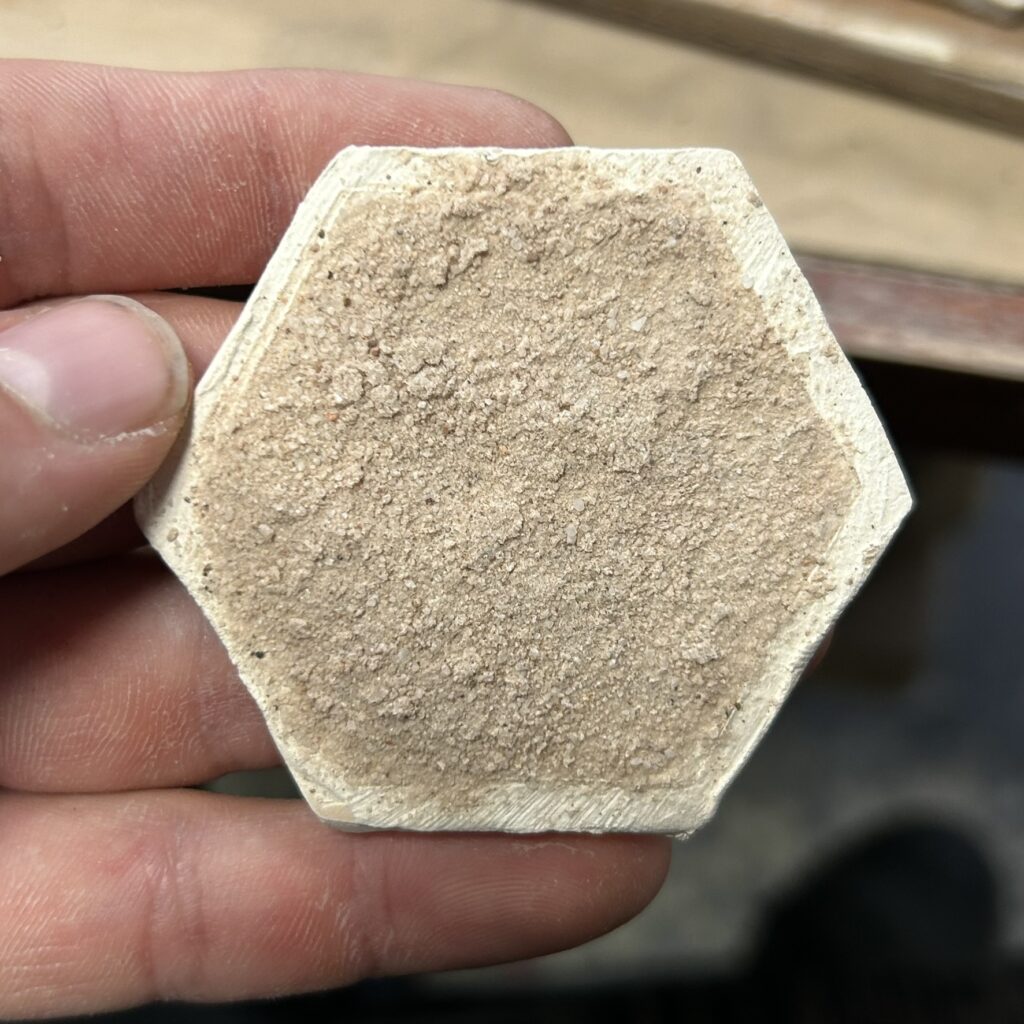
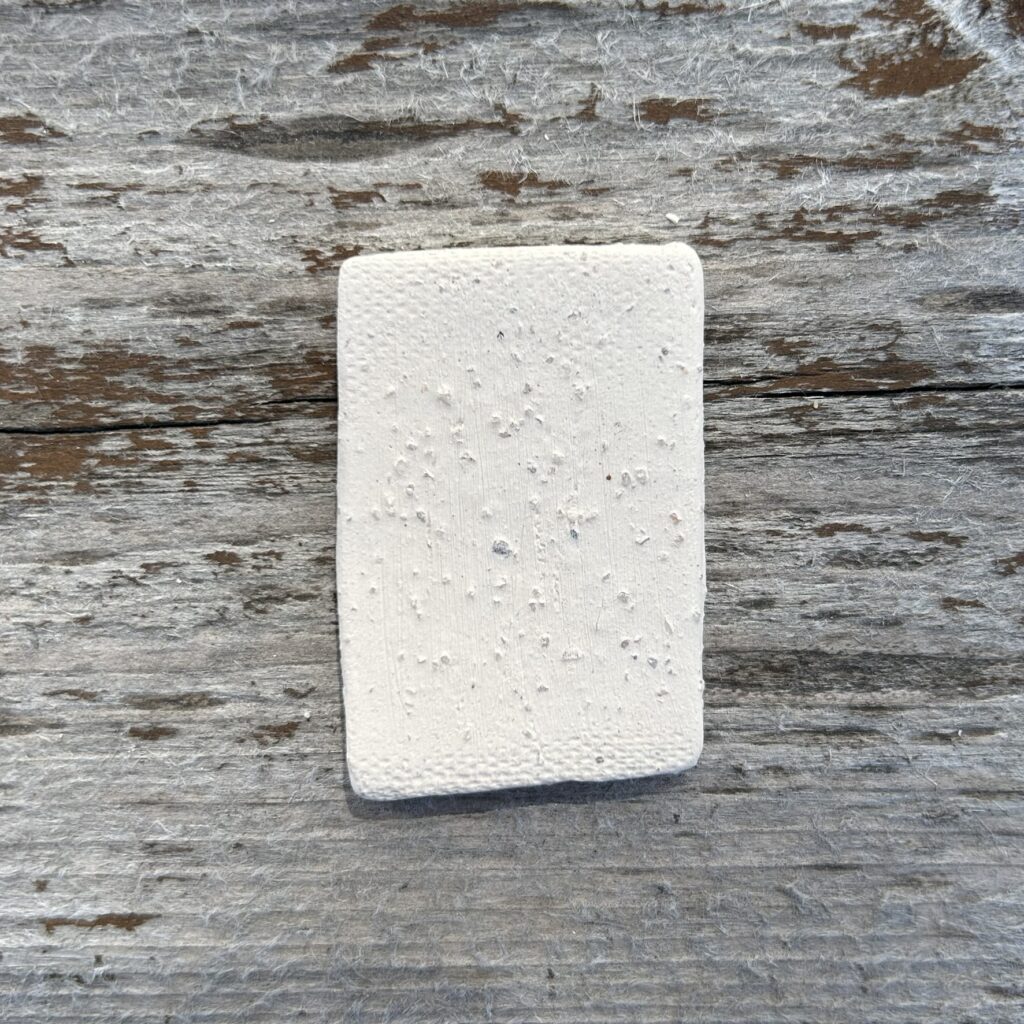
The second set of photographs shows the rock in its powdered form (40 mesh and finer), following the same sequence: raw, bisque-fired (cone 04), and glaze-fired (cone 6). Similarly to the test using the grog form, this sample doesn’t show any signs of melting.

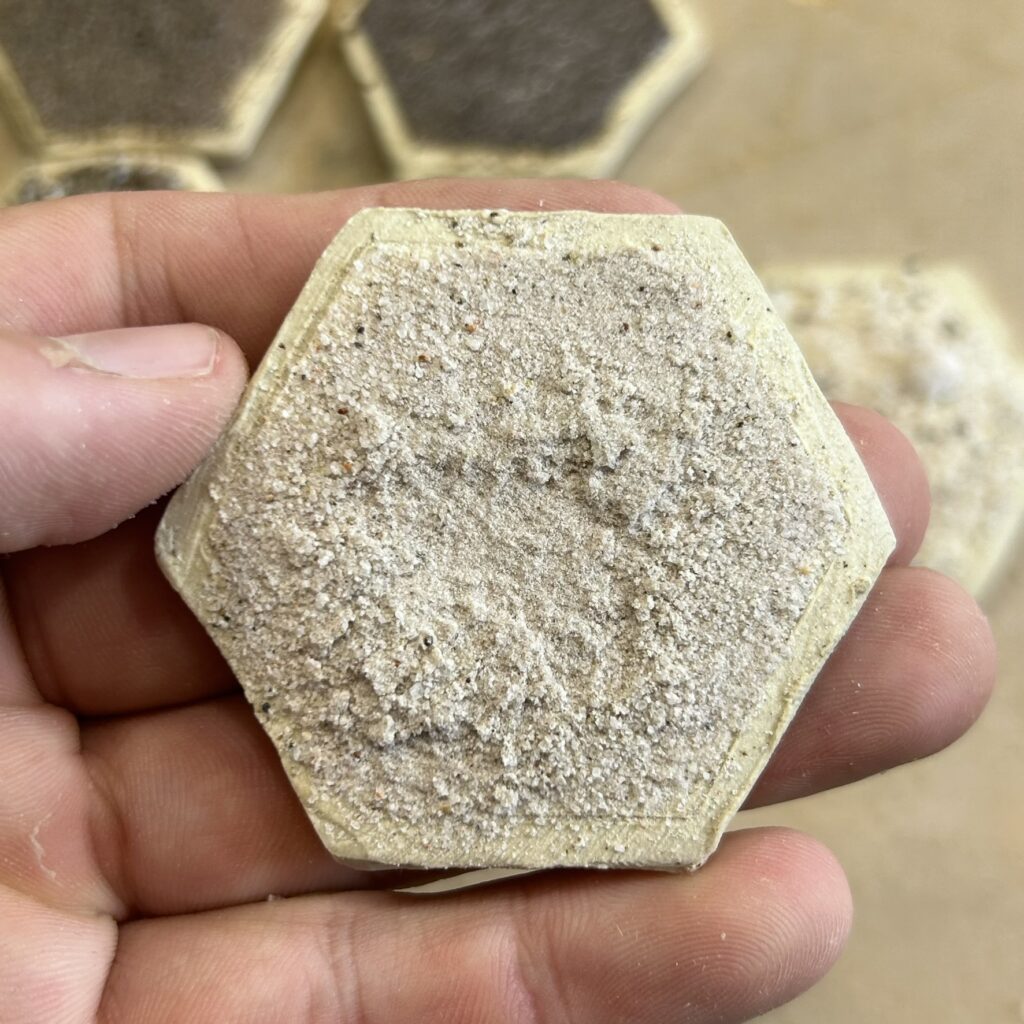
At last, as mentioned earlier, I also added some of the grog into one of my clay bodies. The images bellow follows the same firing order from those above. The grog, barely visible at first, remains that way throughout the firing process.


Glaze Recipes
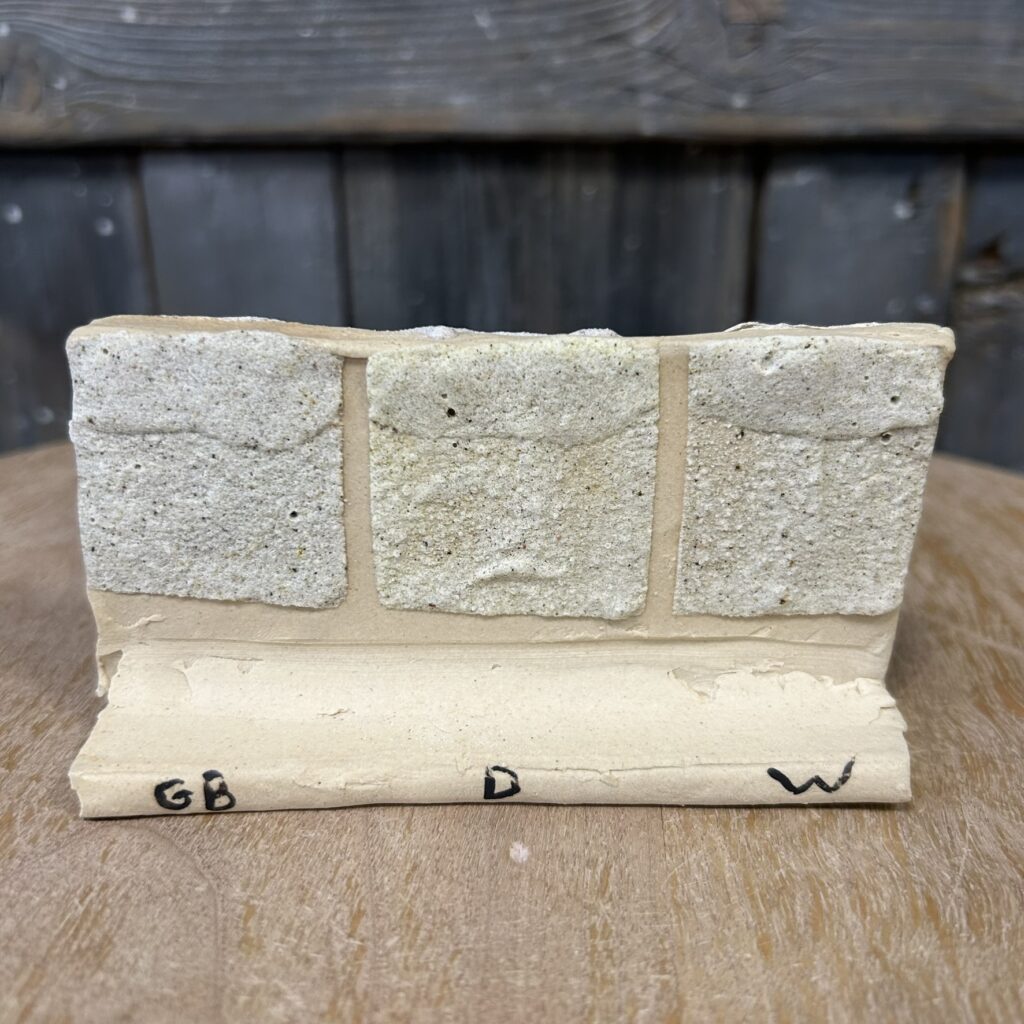
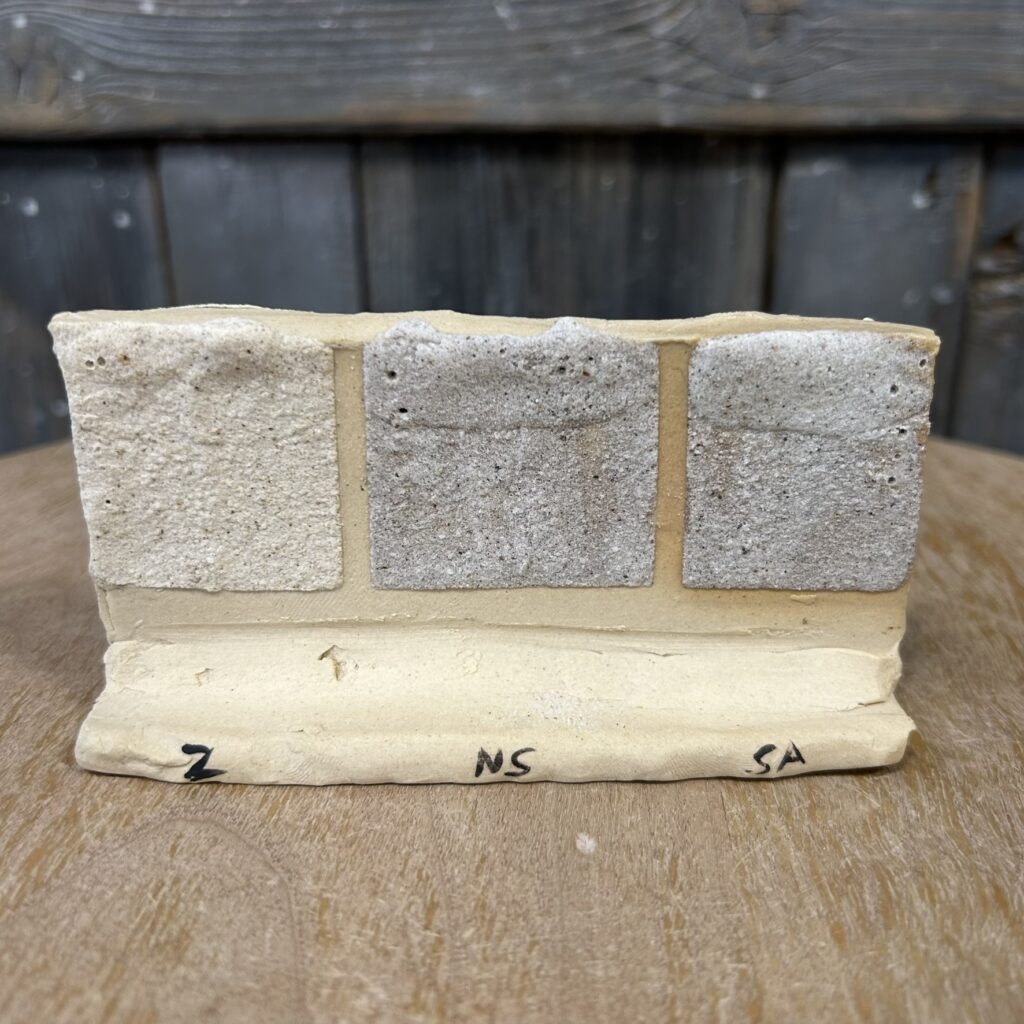
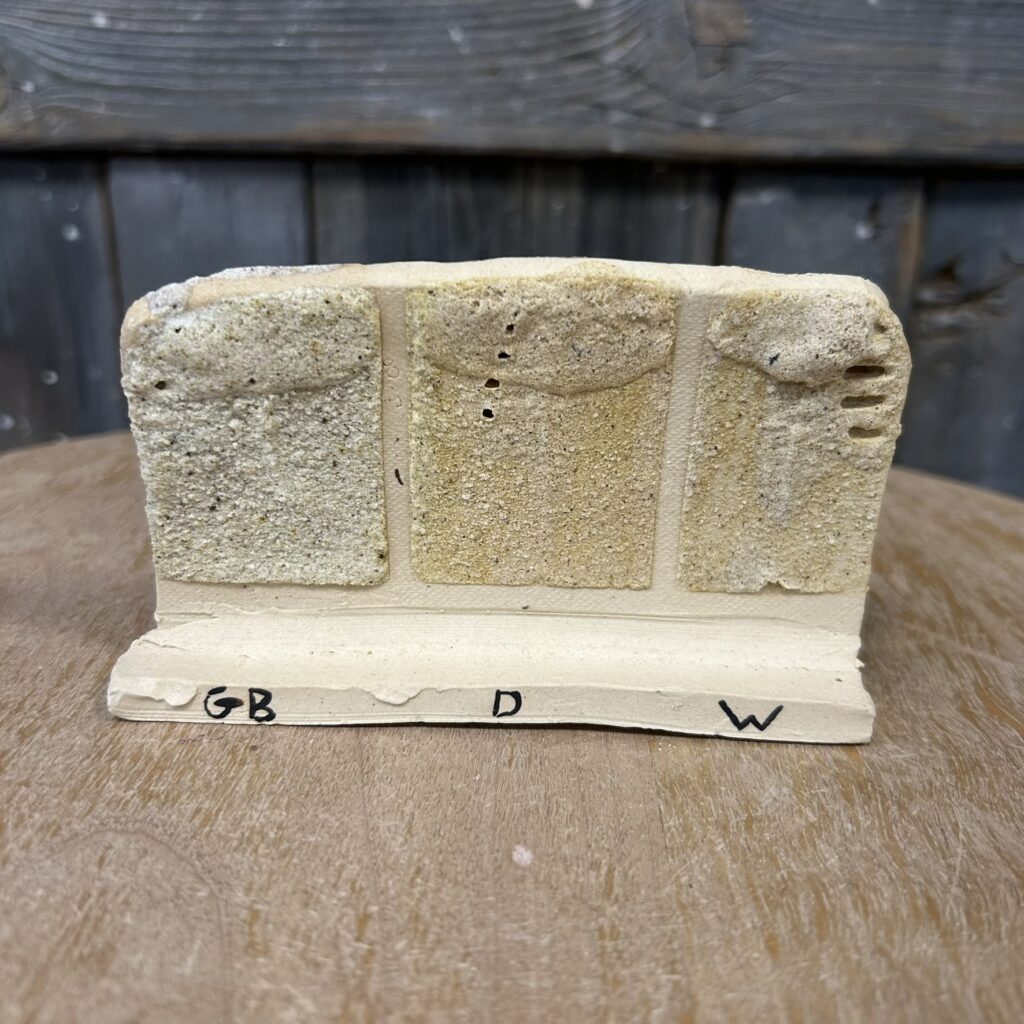
Given the large quantity of rock samples I was working with, I chose to deviate from standard line-blend and triaxial blending methods. Instead, I developed a consistent base recipe for all my glaze tests: 85% crushed rock, 10% flux, and 5% clay. For the clay portion, I experimented with both EP Kaolin (EPK) and Redart (R). As for fluxes, I tested a variety, including Gerstley Borate (GB), Dolomite (D), Whiting or Calcium Carbonate (W), Zinc Oxide (Z), Nepheline Syenite (NS), and Soda Ash (SA). While adjusting the ingredient ratios could have produced a broader range of glaze surfaces, using a fixed formula allowed me to more clearly observe how different fluxes and clays influence the final result.
All glazes were tested on different clay bodies (PSH 519, Tucker’s Mid Cal 5, PSH 540i). In the following section, I’ve included a curated selection of test tiles rather than the complete set.
Amphibolite Glazes : An Overview
The glazes produced using this quartz sample as the primary ingredient offered a rather boring (in my opion) set of colours. By using EPK, there are only slight shift in colouration, from colder whites to warmer whites. As for the recipes using Redart, the more drastic change in colour could be fully attributed to the iron within the Redart and not so much as an interaction of the rock with the clay. As for my preferences, I love the Zinc, Nepheline Syenite, and Soda Ash recipes using Redart.
Glazes using EPK on PSH 519
Glazes using Redart on PSH 519

You will find below a short series of videos (recorded in early 2024 and about one minute each) sharing my on-the-spot thoughts about all of them, including the raw melt test.
Quartz Glazes : A Closer Look
The idea of macro photographies came after observing the glazes using a magnifying lense. I though it was really interesting the way the close-up shots allowed us to view details that would go missing to the naked eye.


Going Beyond Testing
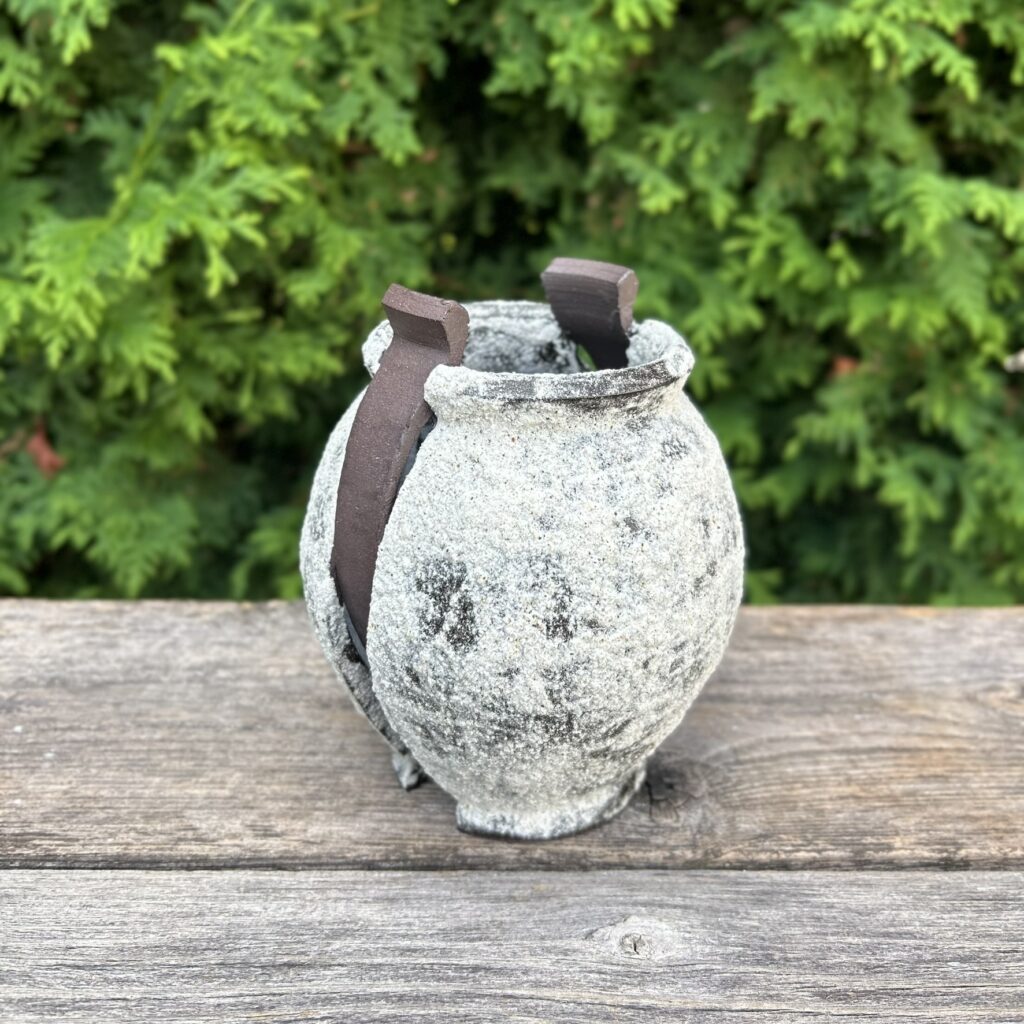
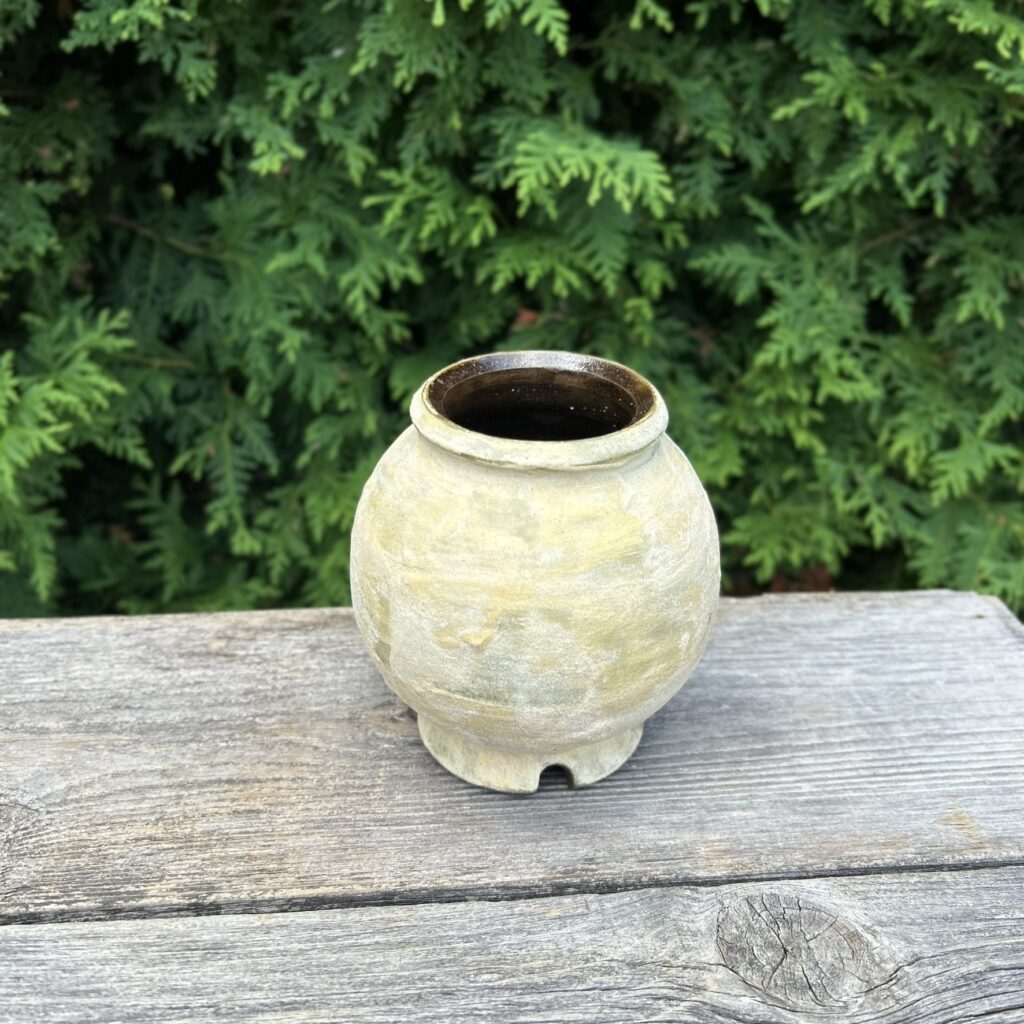
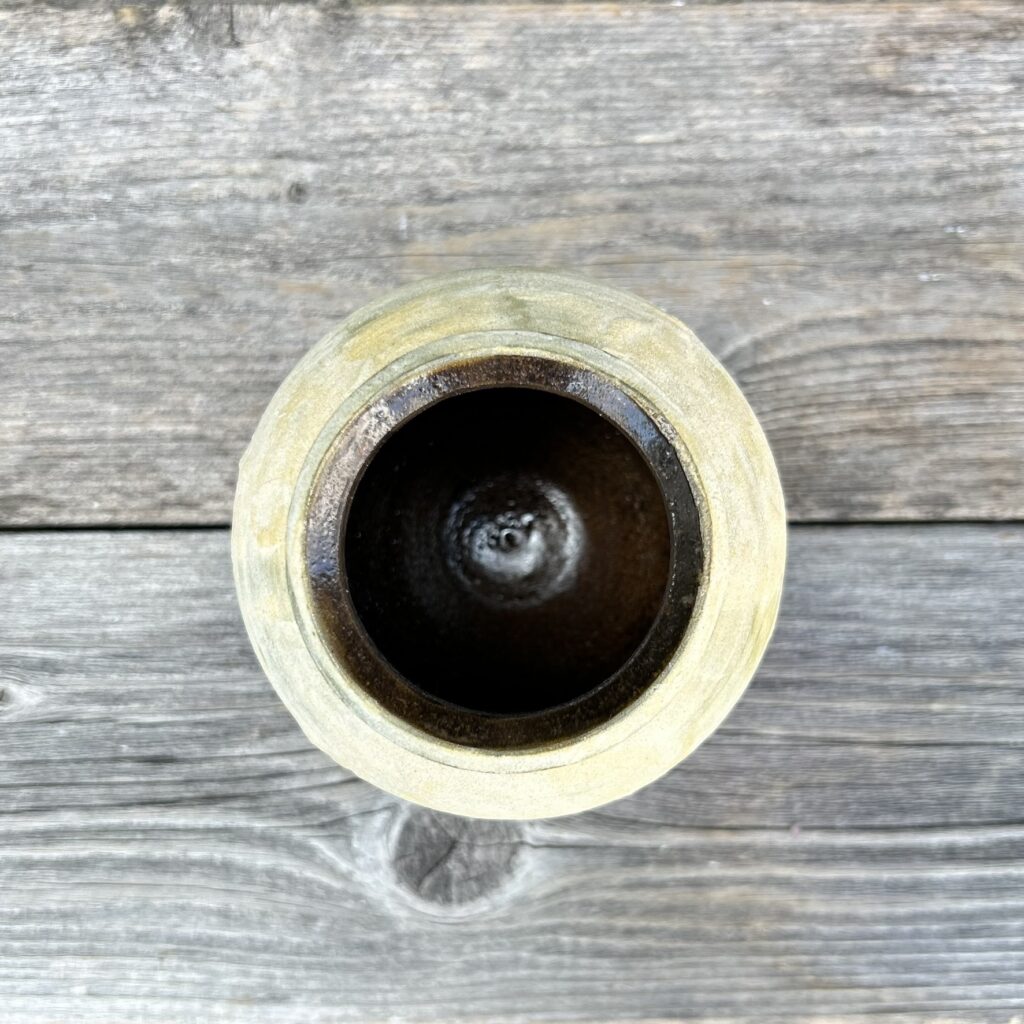
Each rock of the series was accompanied by two moon jars to showcase some of the glazes produced.
Moon Jar [É23H – 1]

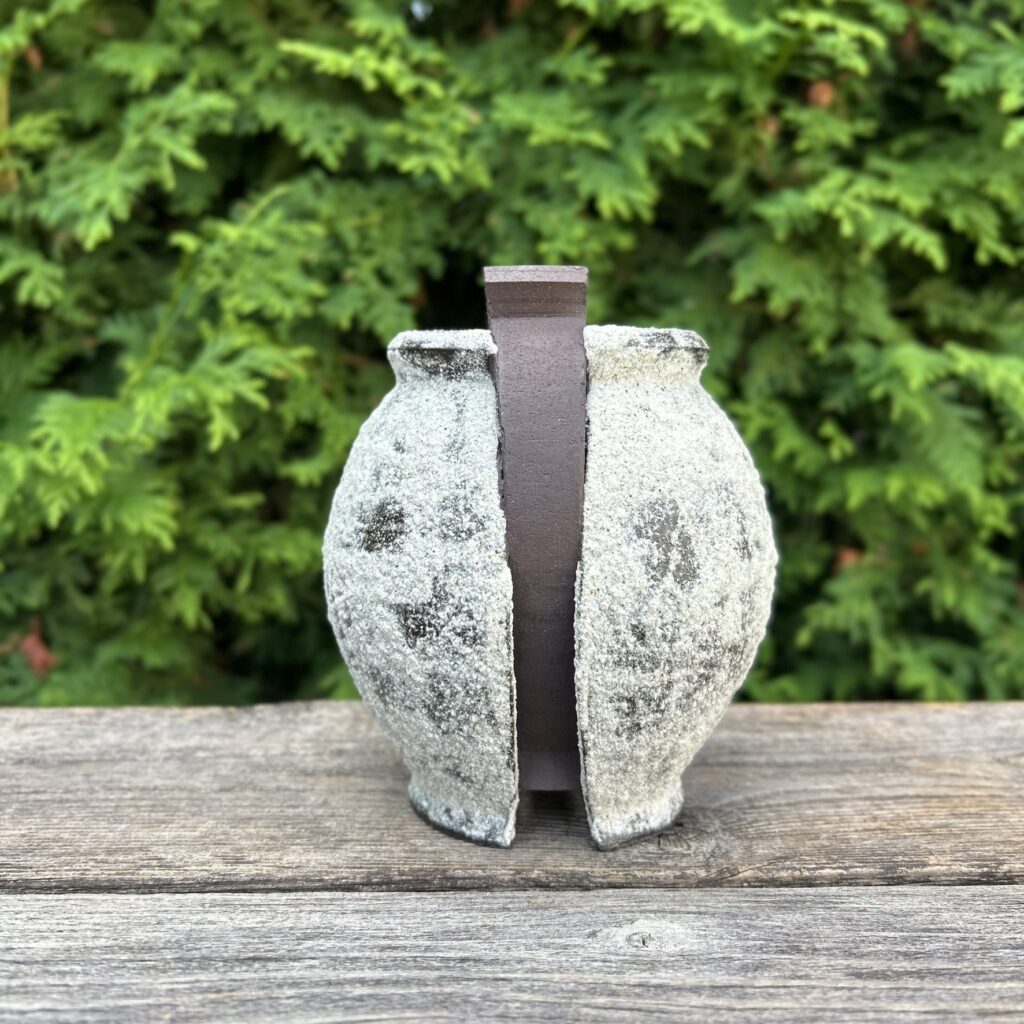
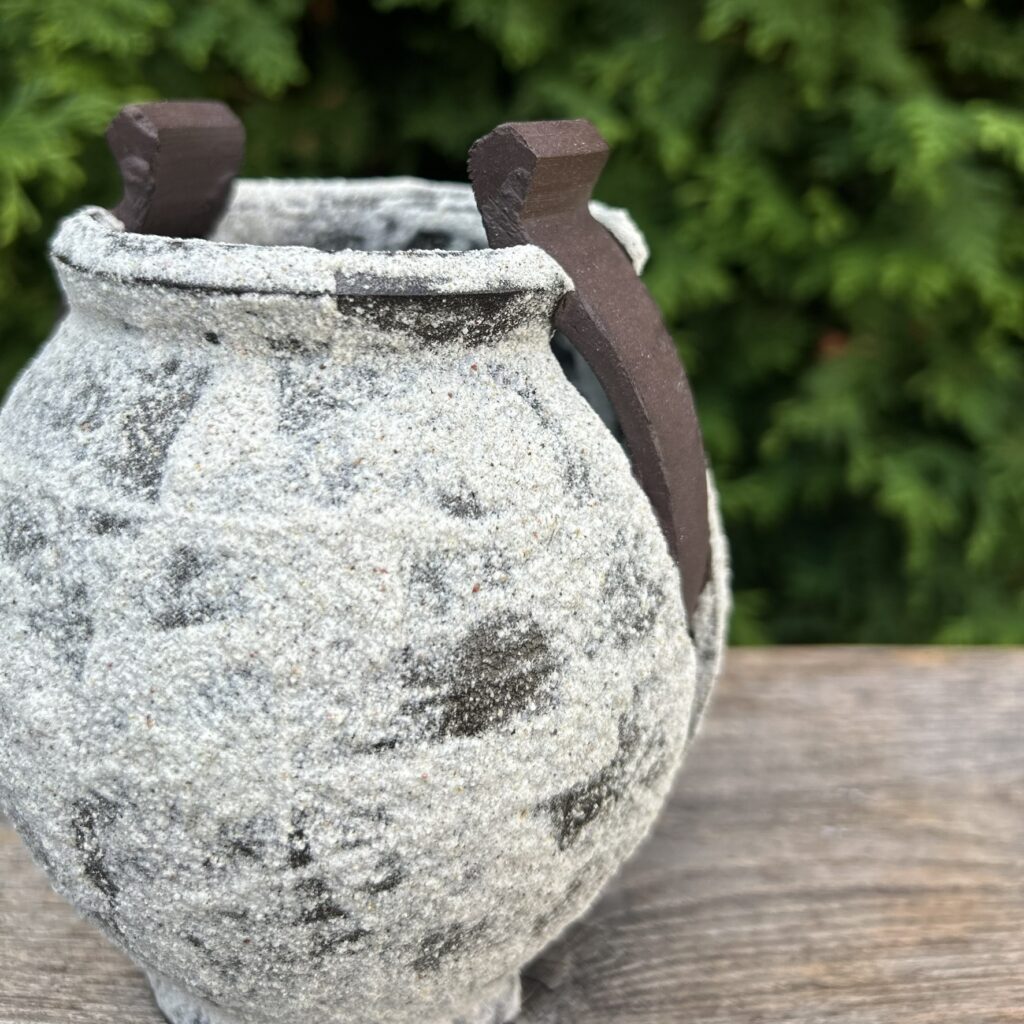


Moon Jar [É23H – 2]


As always, thank you for your interest in my art ! I hope this publication can be useful and inspiring 🙂
Leave a Reply