Note : This publication acts as a continuation of my exhibition titled Ceramic Rock Glazes : Developing a Geological Language of Alternative Ceramic Materials. The purpose is to bring together all my previous publications into a single, somewhat cohesive document, providing both an easy access to the information and more in-depth details.
Concrete
As with all prior publications in this rock glaze series, the structure of this article is as follows: an overview of the rock’s mineralogical components, followed by photographs of the crushed rock at various stages of firing, images of the glazes made using the rock as the primary ingredient, and finally, a presentation of two moon jars that highlight two of the resulting glazes.
From Rock to Dust
This piece of concrete was taken from a construction site in Ottawa. To crush it, I used some of the tools listed in the previous blog post : Tools for processing rocks into fine powder for ceramic glazes : an introduction.


Mineral Composition and Considerations for Glaze Development
Note : In the absence of XRF analysis, I relied on the observational skills of a friend, along with hardness and melt tests, to support some of the hypothesized mineral compositions of the rock. Even now, I can’t claim with complete certainty that everything detailed below is accurate, but these findings offer a solid starting point.
Concrete is typically composed of :
- Cement (Calcium Oxide ; Silica ; Alumina ; Traces of Iron)
- Various aggregates (such as granite and basalt)
Simply judging by the ingredient, I wasn’t too sure if it would melt by itself.
Firing Temperature and its Effects
I began the rock glaze experiments by running a series of melt tests to see how the rock behaves on its own. This preliminary stage served two key purposes : it offered a baseline understanding of the material at high temperature (melting pattern, flow characteristics, and potential colour range), and it also allowed me to confirm that it wouldn’t splatter or over-melt in the kiln. This step is one that I highly recommend to anyone working with raw or untested materials. If you do, it’s best to use small ceramic bowls rather than the flat tiles I used here (I was simply lucky that no disaster happened during this project).
In addition, I added 5% of the clay’s weight in the form of grog and powder to see the effect of the rock as a clay additive.
The photos bellow show the rock used in its grog form (i.e., relatively coarse particles), progressing from raw to bisque-fired (cone 04), and finally glaze-fired (cone 6). In the final stage, the sample remains unmelted. It has various sparks of colour and the texture is extremely rough.


The second set of photographs shows the rock in its powdered form (40 mesh and finer), following the same sequence: raw, bisque-fired (cone 04), and glaze-fired (cone 6). The resulting tile is similar to the grog, but without the flash of colours.


At last, as mentioned earlier, I also added some of the grog into one of my clay bodies. The images bellow follows the same firing order from those above. After the final firing, the various speckles of different colours.


Glaze Recipes
Because I was working with a substantial amount of rock samples, I chose not to use standard methods such as line blends or triaxial blends. Instead, I established a single base formula for all glaze tests: 85 percent crushed rock, 10 percent flux, and 5 percent clay. This kept the process efficient while still providing useful comparisons between materials. For the clay portion, I used both EP Kaolin (EPK) and Redart (R). The fluxes tested included Gerstley Borate (GB), Dolomite (D), Whiting or Calcium Carbonate (W), Zinc Oxide (Z), Nepheline Syenite (NS), and Soda Ash (SA). While adjusting the proportions could have produced a broader range of surfaces, keeping the recipe constant made it easier to identify the specific influence of each flux and clay on the final glaze.
All glazes were tested across different clay bodies – specifically PSH 519, Tucker’s Mid Cal 5, and PSH 540i. In the following section, I’ve included a curated selection of test tiles that represent key findings, rather than presenting the full batch.
Concrete Glazes : An Overview
Glazes produced using a concrete yielded surprising results. While the majority of the glazes on the white and brown clay body remained unmelted (except with Gerstley Borate), those on the black clay body (PSH 540i) fully melted to the point of almost running off the test tile. The colours produced on that clay body is reminding me of ash glazes with various blues, yellows, and reds.
Glazes using EPK on PSH 540i


Glazes using Redart on PSH 519


Below is a short series of videos (recorded in early 2024 and about one minute each) sharing my on-the-spot thoughts about all of them, including the raw melt test.
Concrete Glazes : A Closer Look
Here’s some extra pictures taken upclose.


Going Beyond Testing
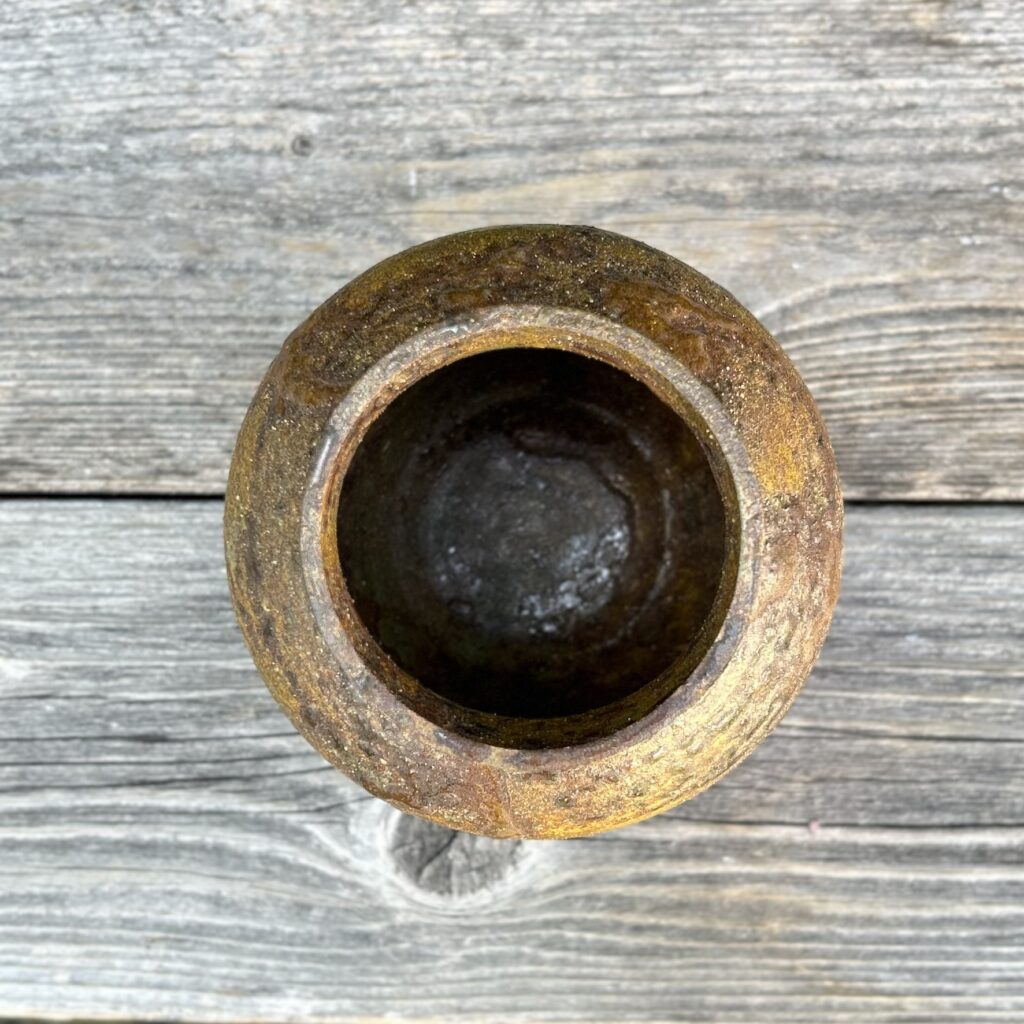
Each rock of the series was accompanied by two moon jars to showcase some of the glazes produced.
Moon Jar [É23L – 1]


Moon Jar [É23L – 2]


Thank you for your interest !
Leave a Reply